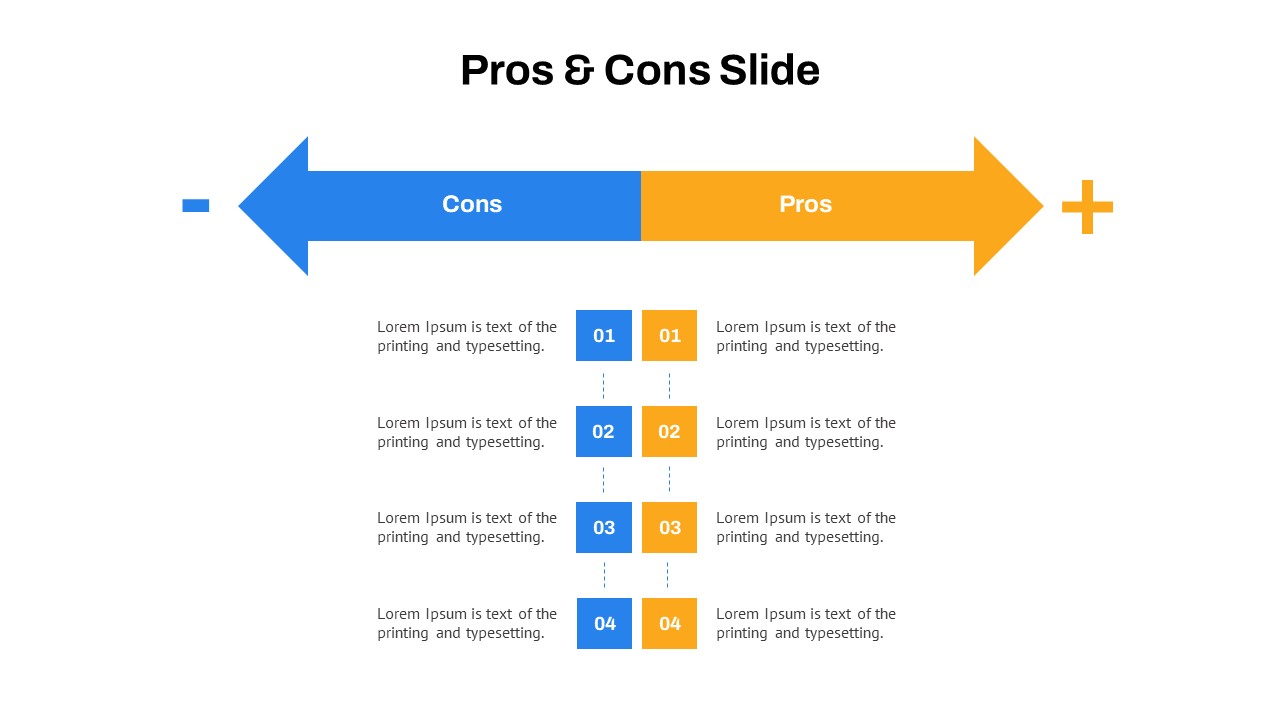
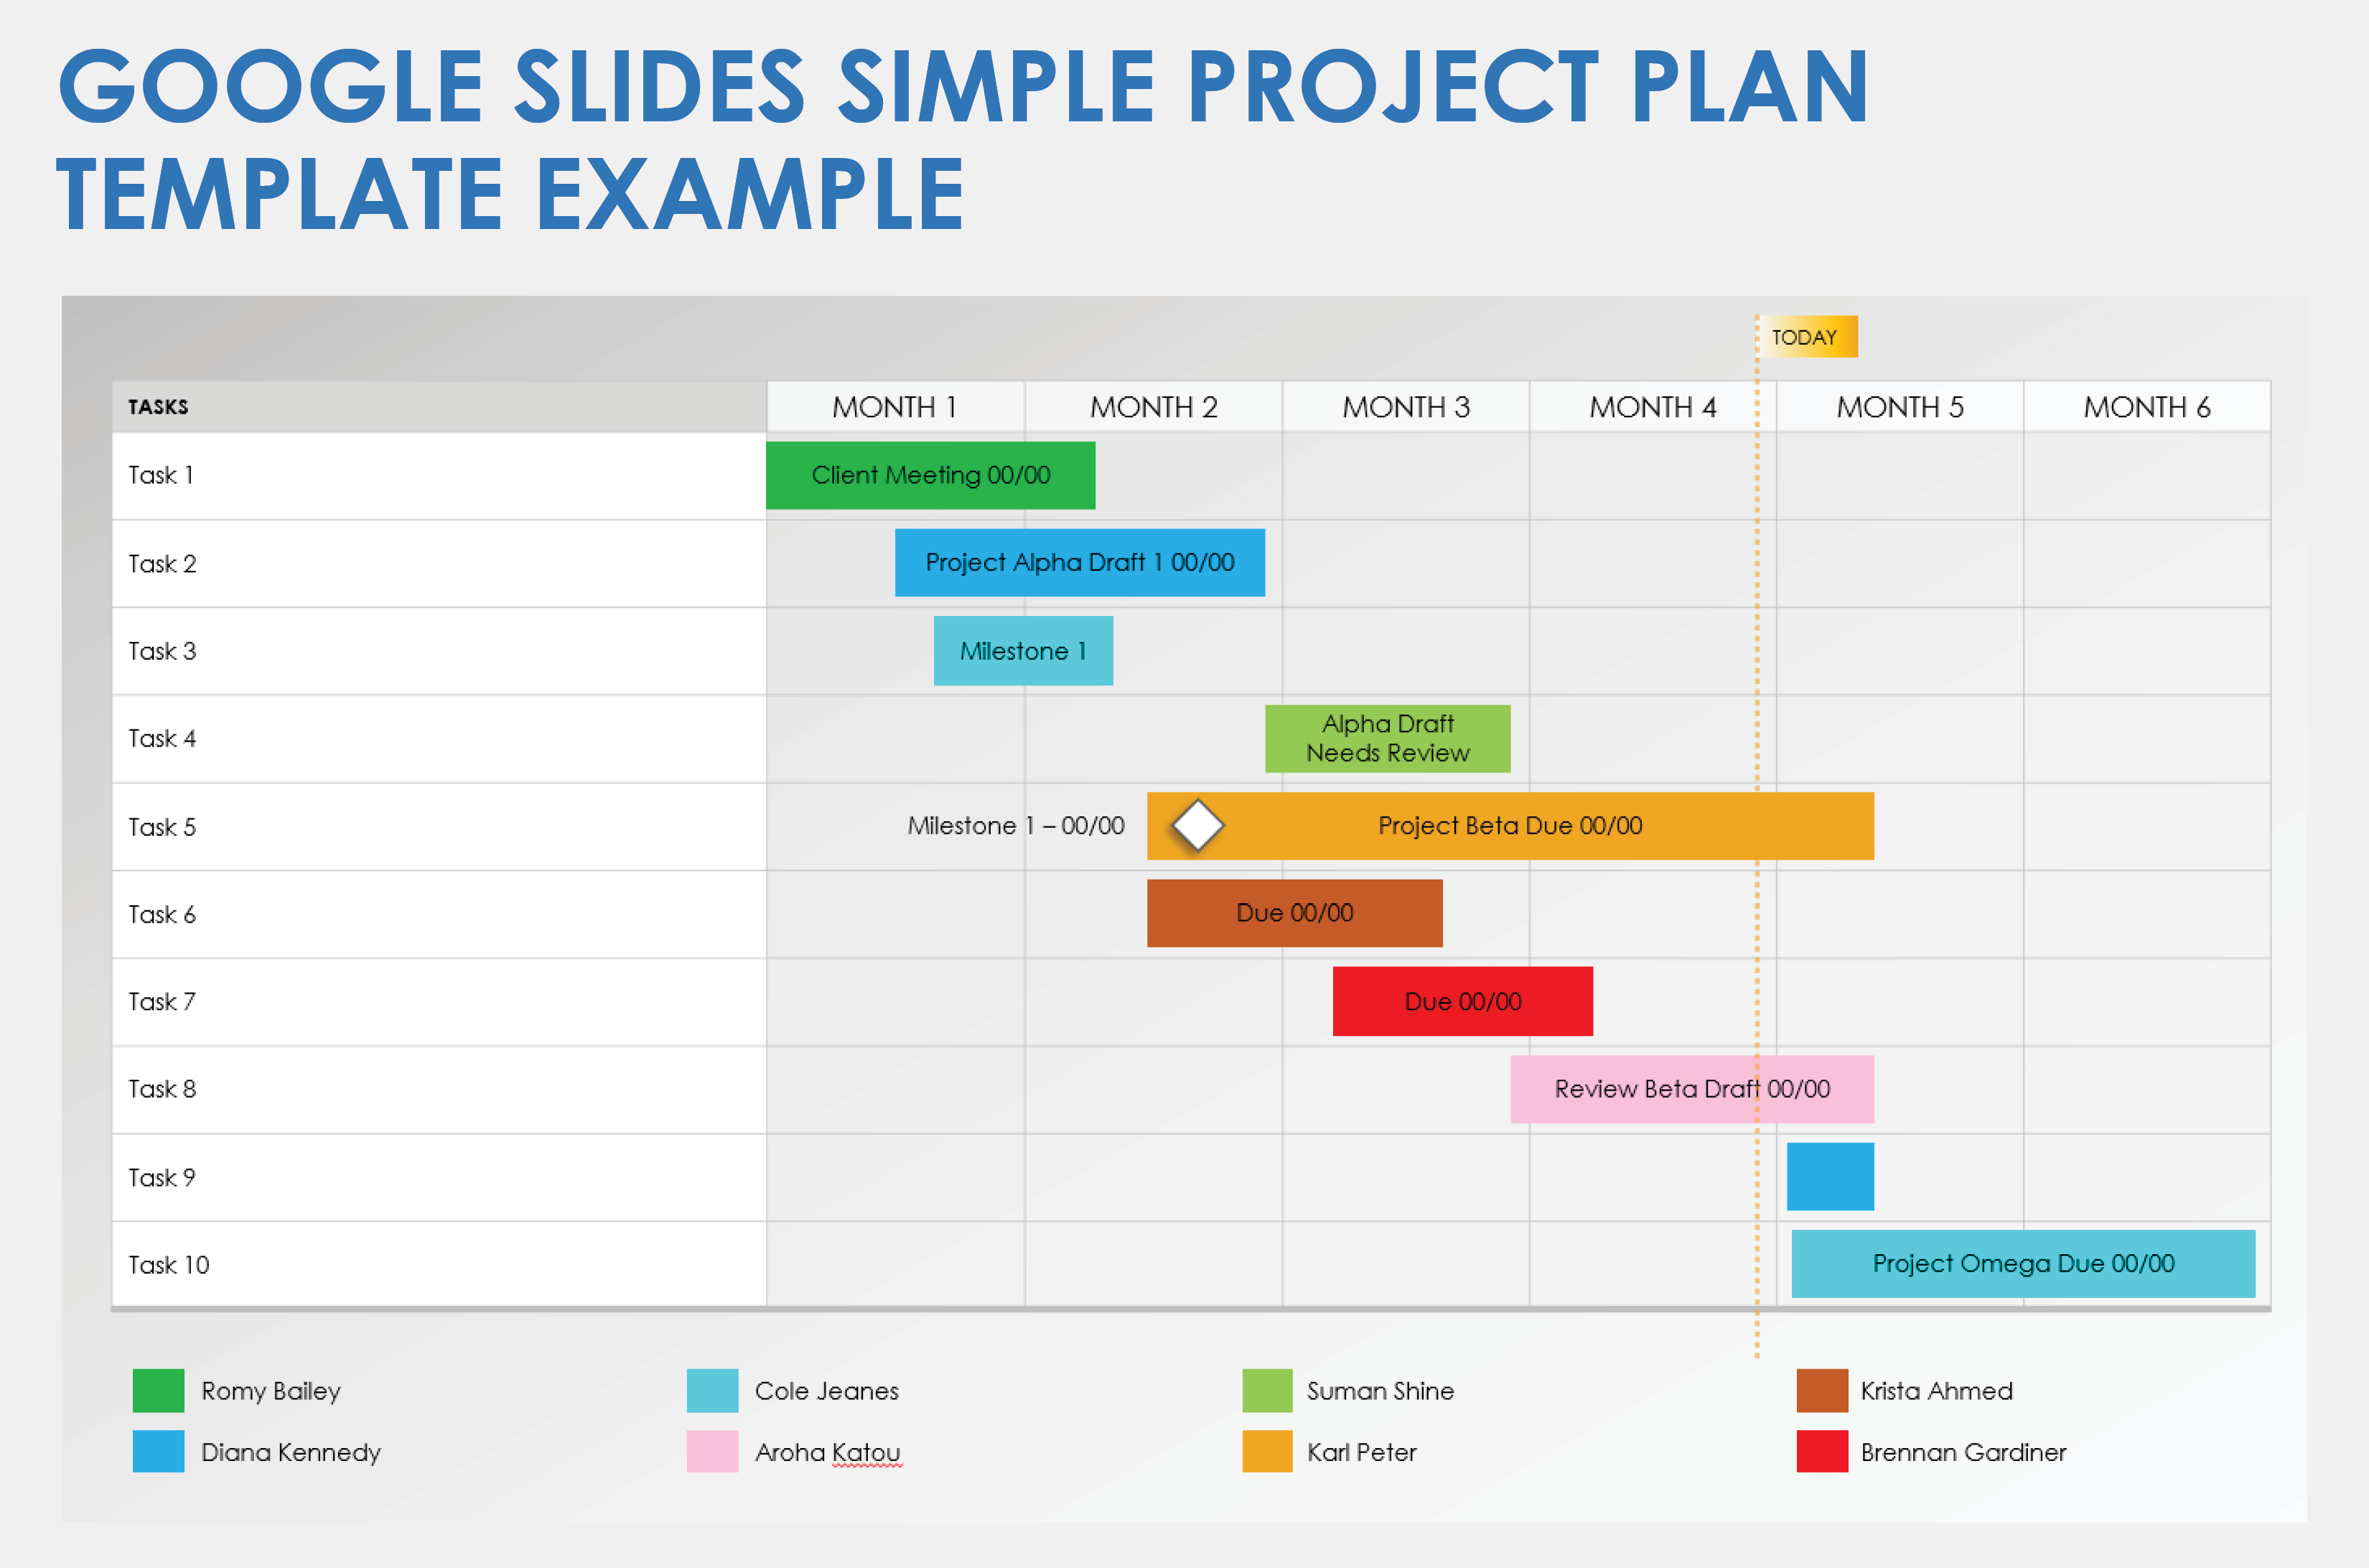
Creating a master template for Google Slides can really boost the cohesion and professionalism of your presentations. To start, it’s important to think about your audience—how they’ll perceive your design influences everything. Next, consider the design elements like fonts, colors, and images to create a visually appealing experience. You’ll want to familiarize yourself with master slides and layouts since they define the foundation of consistency in your presentation. Then move on to creating it: open Google Slides, access the Theme Builder for editing, and customize as needed. Whether you’re starting from scratch or tweaking an existing template, clarity is key!
Why Create a Google Slides Presentation Template?
 Credits: slidekit.com
Creating a Google Slides presentation template is important because it sets the tone for your presentation. A well-crafted template ensures that your slides are visually appealing, making it easier for your audience to focus on the content rather than being distracted by inconsistent formatting. For instance, a marketing presentation might use bold colors and dynamic layouts to capture attention, while a corporate report could favor a more subdued and professional appearance. Furthermore, having a template saves time. Instead of starting from scratch for every presentation, you can simply modify the existing template to suit your needs. This efficiency is particularly valuable for frequent presenters, as it allows for quicker preparation and greater consistency in branding. Additionally, a custom template can help reinforce your brand identity, with consistent use of logos, colors, and fonts that resonate with your audience, whether they are clients, colleagues, or students. Overall, a tailored Google Slides template not only enhances the quality of your presentations but also increases engagement and retention of the information presented.
Understanding Master Slides and Layouts
Before creating your Google Slides template, it’s important to grasp the concept of master slides and layouts. A master slide serves as the backbone of your presentation design. It allows you to set consistent elements like background colors, logos, and font styles that will appear across all slides. This ensures that your presentation maintains a cohesive look, making it more professional and visually appealing.
On the other hand, master layouts are specific templates within the master slide. They define how different types of content are organized on individual slides. For example, you might have a layout for title slides, another for text-heavy slides, and one more for slides that include images or charts. By using these layouts, you can customize the arrangement of your content while still adhering to the overall design established in your master slide.
Understanding these components is crucial, as they work together to create a unified presentation. When you apply a layout to a new slide, it inherits the design elements from the master slide, ensuring that every slide feels connected. This approach not only saves time but also enhances your audience’s experience by providing a clear and consistent visual narrative throughout your presentation.
Planning Your Google Slides Template
 Credits: smartsheet.com
Understanding your audience is essential when planning your Google Slides template. A corporate audience may prefer a more formal and structured design, while a classroom setting might benefit from bright colors and engaging visuals. Think about whether the presentation will be live or viewed online, as this can influence the design elements you choose.
Next, consider the design components of your template. Choose fonts that are easy to read and ensure they are commonly available to avoid issues when sharing. For colors, select a palette that aligns with your branding and resonates positively with your audience. Images should be used judiciously on the master slide, but you can incorporate them more freely in your layouts.
Plan the types of slides you want to include in your template. Common slide types are title slides, content slides with images, text slides with bullet points, and conclusion slides. Creating wireframes or simple sketches can help you visualize how each slide will look before you start building it in Google Slides.
| Slide Type | Description | Purpose |
|---|---|---|
| Title Slide | The first slide that introduces the presentation | Sets the tone and provides the title and presenter information |
| Content Slide with Images | Slides that include text alongside relevant images | Enhances understanding through visual aids |
| Text and Bullet Points Slide | Slides primarily composed of listed information | Organizes key points for clarity |
| Conclusion Slide | The final slide summarizing key takeaways | Reinforces main messages and closes the presentation |
Creating Your Google Slides Template
Start by opening Google Slides and creating a new presentation. To access the master slide editor, go to View > Theme Builder. Here, you will set the default elements for your presentation. Change the font in the text placeholders to your preferred style, like Arial for a clean look, and add any branding elements such as your logo. Make sure these elements are not too dominant so that the content remains the focus.
Next, add master layouts that will allow for various content types. Right-click on an existing layout and select “New Layout” to create one tailored to your needs. Customize each layout for specific uses, like a title slide or a content slide with images. This flexibility will help you present information effectively.
Once your layouts are ready, return to the main slide view to apply them. Click the down arrow next to the New slide button, and choose the appropriate layout for each new slide you create. This way, your entire presentation maintains a consistent look and feel.
Customizing an Existing Template
 Credits: slidesgo.com
If you’re short on time, customizing pre-designed templates can be a quick and effective way to create a professional presentation. Start by opening a template in Google Slides and rename it to avoid overwriting the original. This way, you can always revert back to the template if needed. Next, modify the text to fit your content, ensuring that it matches your intended message. You can change the fonts to ones that align with your brand identity, creating a more personalized touch.
Replacing images is also crucial. Select images that resonate with your audience and support your content. Make sure they are high-quality and relevant to the message you are conveying. Additionally, adjust the color scheme if necessary. You can use the color palette that aligns with your branding to maintain consistency throughout your presentation.
For example, if your company uses blue and green, make sure to update the template’s colors to reflect this. This not only enhances your brand but also makes the presentation visually appealing. Finally, review the layout to ensure that it flows well and that key points stand out. By taking these steps, you can effectively customize an existing template to meet your needs.
Best Practices for Designing Google Slides Templates
Using infographics can greatly enhance your presentations. For instance, rather than listing statistics in bullet points, consider creating a visual chart that illustrates the data. This helps your audience grasp complex information quickly and keeps them engaged.
Embracing minimalism is another crucial aspect. Each slide should focus on a single idea. For example, if discussing a new product, dedicate one slide to its features, another to its benefits, and a third to customer testimonials. This clarity allows your audience to absorb the information without feeling overwhelmed.
Incorporating high-quality images is vital as well. Images should complement your content, like a stunning photograph of your product or a relevant graphic that enhances your message. Avoid cluttering slides with too many visuals; instead, use a few impactful images that resonate with your audience.
Lastly, consider utilizing timed slides. This feature helps you control the pacing of your presentation. For example, if you have a 10-minute presentation, you can set each slide to display for a specific duration, ensuring you stay on track without rushing through important points.
- Keep your slides visually appealing and consistent.
- Use high-quality images and graphics.
- Maintain a clear hierarchy using text sizes and fonts.
- Limit the amount of text on each slide for clarity.
- Use consistent color schemes that align with your brand.
- Incorporate white space to avoid clutter.
- Ensure that all elements are aligned properly.
Final Thoughts on Master Templates
Developing a master template for Google Slides can transform the way you present information. A well-crafted template ensures that every slide aligns with your overall message and branding. It saves you time during the creation process and enhances the professionalism of your presentations. For instance, if you’re presenting to a corporate audience, using a template with formal colors and fonts can create an immediate impression of credibility. Conversely, a vibrant and playful template might be more suitable for educational settings. Remember that consistency is key; using the same fonts, colors, and layouts throughout your slides helps reinforce your brand identity. Additionally, consider the adaptability of your template. As your needs evolve, having a flexible template allows for easy updates and changes without starting from scratch. This not only keeps your presentations fresh but also saves valuable time in the long run.
Frequently Asked Questions
1. What is a master template in Google Slides?
A master template in Google Slides is like a blueprint for your presentation. It sets the style, colors, fonts, and layouts that you can use throughout your slides.
2. How can I create a master template for my presentations?
To create a master template, open Google Slides, go to ‘Slide’ in the menu, then select ‘Edit master’. Here, you can customize the look of your main slides.
3. Can I change the master template after creating it?
Yes, you can change the master template anytime. Just go back to ‘Edit master’ and make your updates, and they will apply to all slides using that template.
4. What are the benefits of using a master template?
Using a master template saves you time, keeps your presentations consistent, and helps ensure a professional look across all your slides.
5. Is it possible to share my master template with others?
Yes, you can share your master template by sharing the Google Slides file with others, allowing them to use your design as a base for their presentations.
TL;DR Creating a master template for Google Slides enhances presentation consistency and professionalism. Understand master slides and layouts to tailor your design for your audience. Plan your template around key design elements like fonts and colors. Create your template by using the Theme Builder in Google Slides, adding master layouts, and applying these to your slides. Alternatively, customize existing templates if pressed for time. Follow best practices by using infographics, embracing minimalism, and utilizing high-quality images. A well-crafted template streamlines your presentation creation process.

