Designing custom clothing online can be a thrilling journey, allowing you to express your unique style and creativity. First, start off with some thoughtful planning: identify what you want your designs to say about you. Fabric choice really matters too—understanding different textures and weights will help you create garments that are both beautiful and functional. Don’t forget about taking accurate measurements; fit is key! Sketch out your ideas as they form; this helps clarify your vision. Assembling pieces requires patience, along with the right tools for cutting and sewing. Remember to add those personal touches that make each piece special!
1. Initial Planning Stage
 Credits: pointsofmeasure.com
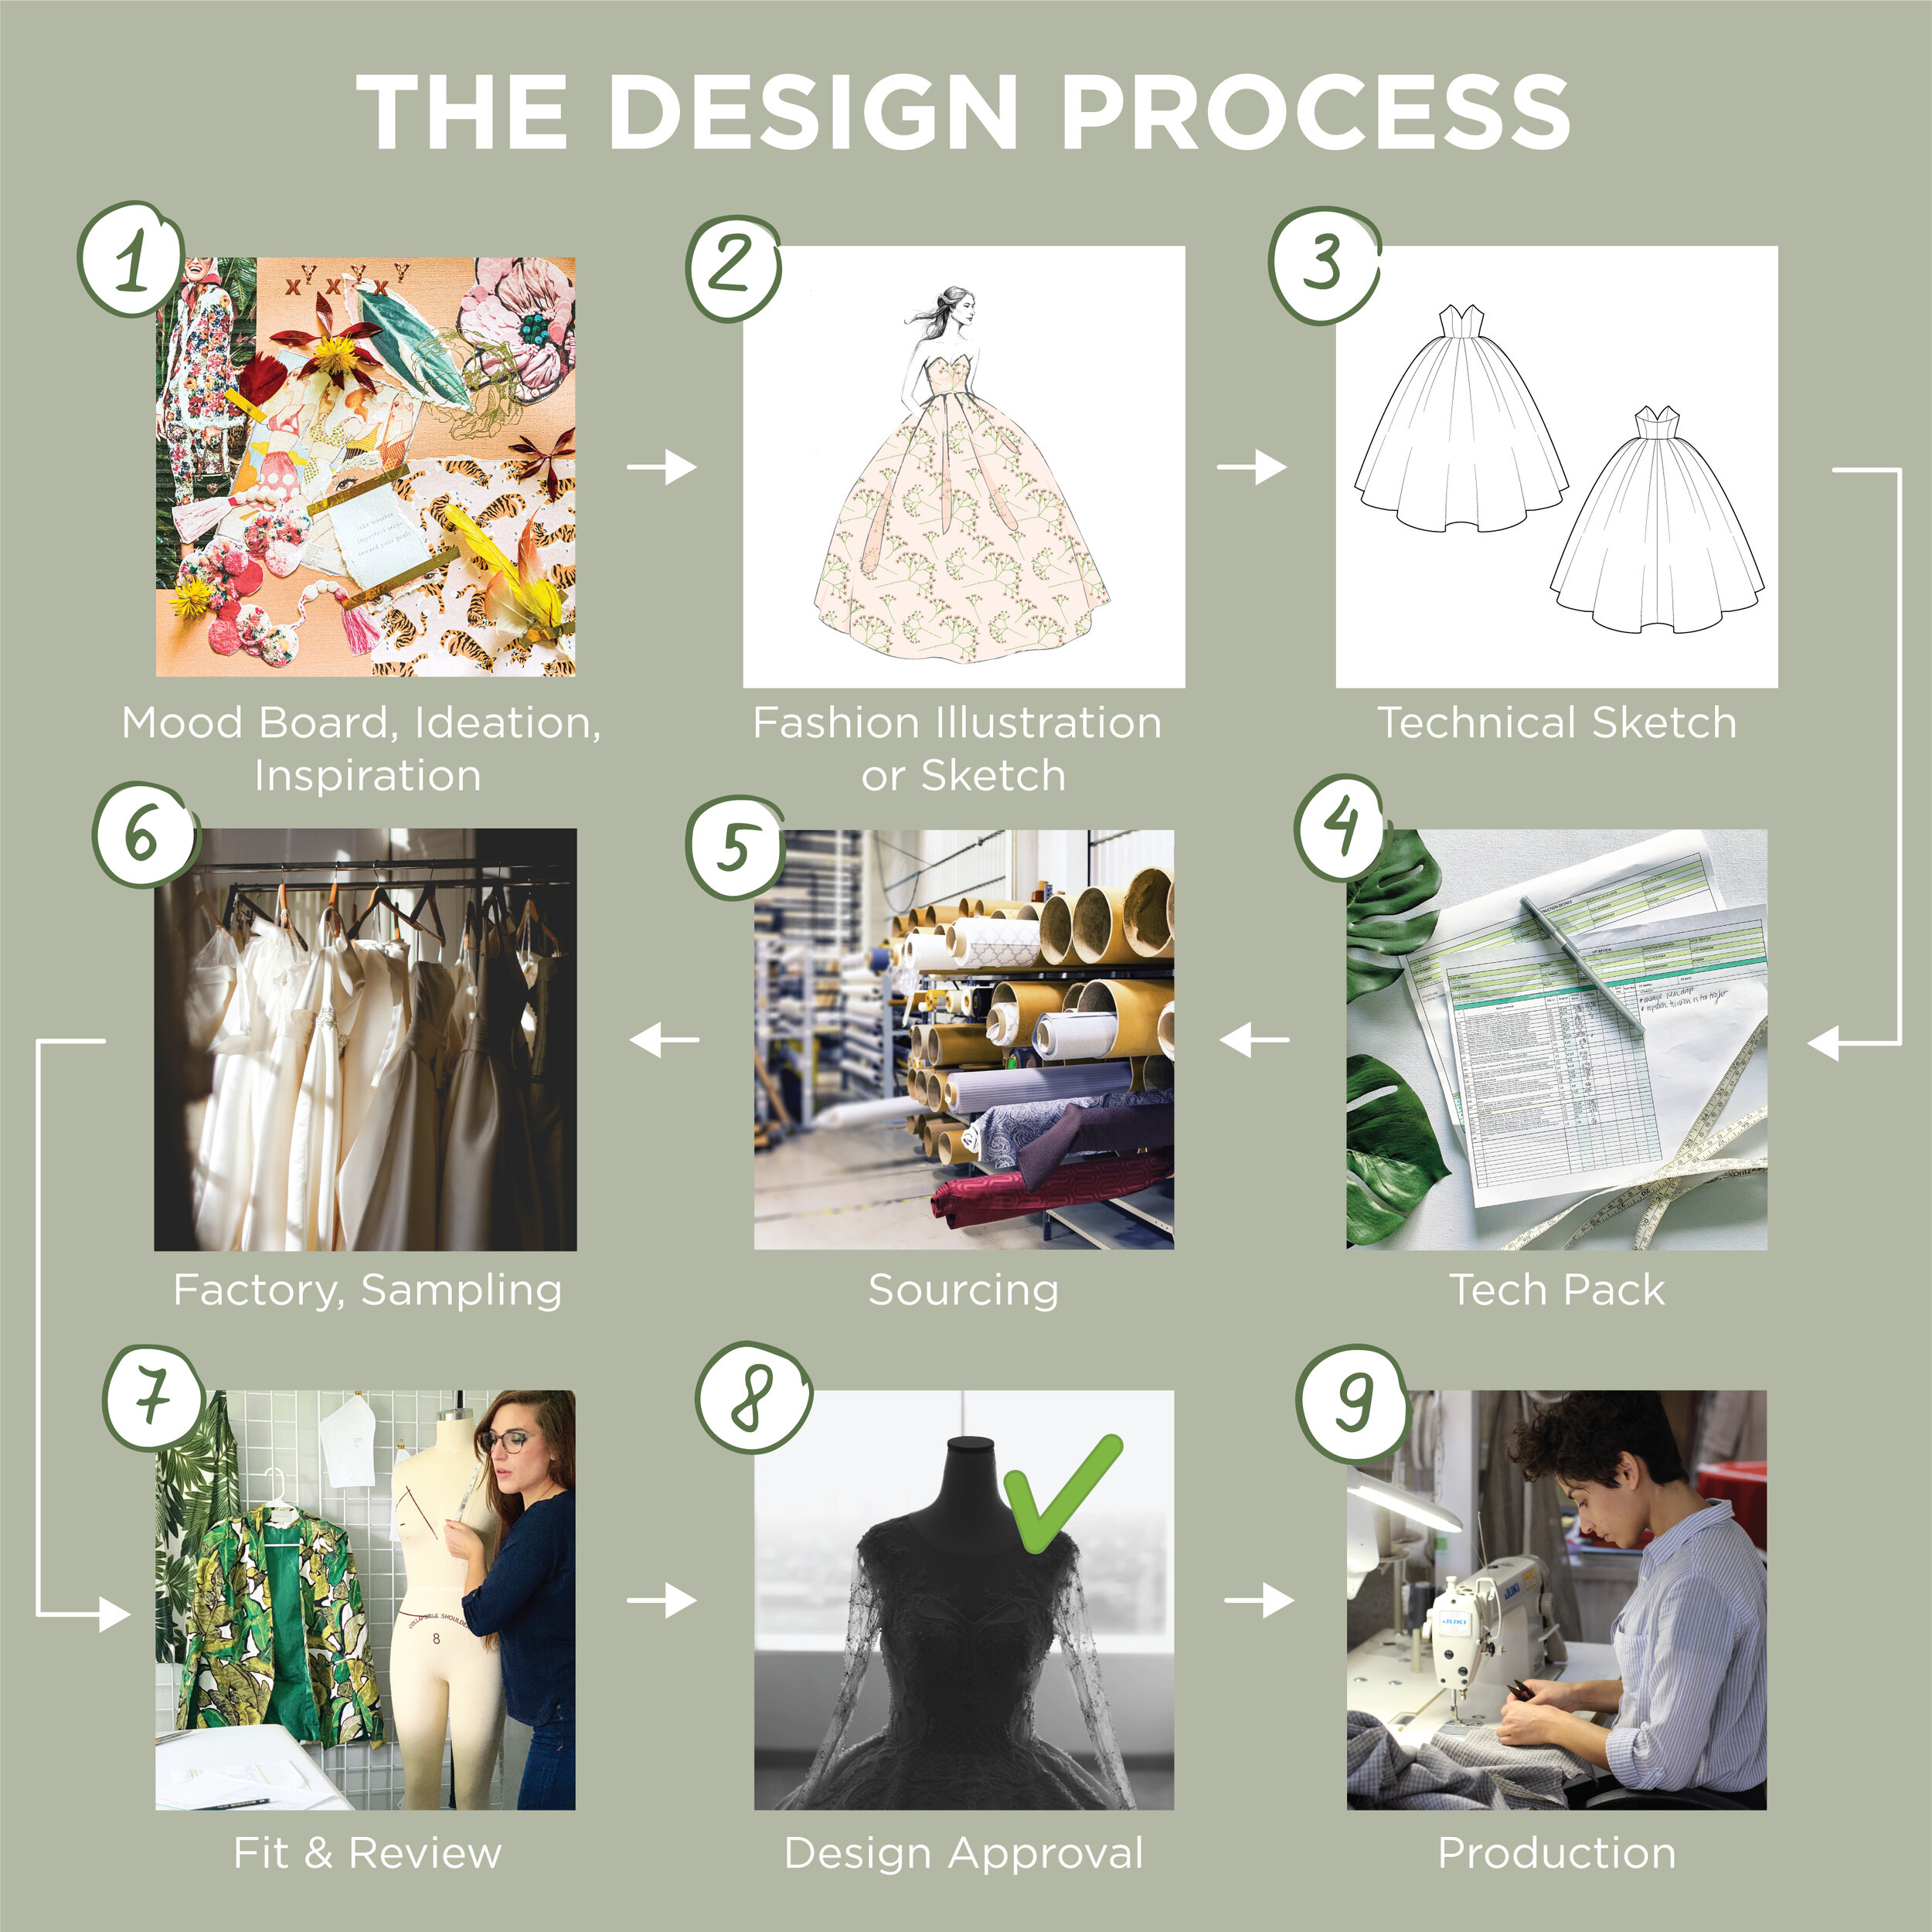
Before diving into the world of custom clothing design, it’s vital to lay a solid foundation. Start by defining your personal style, considering your aesthetic preferences and fashion inspirations. Think about what colors, patterns, and silhouettes resonate with you. Set clear design goals that guide your creative process, whether it’s for a statement piece or a versatile wardrobe staple. Research current trends and gather inspiration from fashion magazines, runway shows, and online platforms like Pinterest or Instagram. For example, if you admire bohemian styles, look for flowy fabrics and earthy tones to incorporate into your designs. This initial planning stage is crucial, as it shapes the direction of your entire project.
2. Understanding Fabric Selection
Choosing the right fabric is crucial for any custom clothing project. Each type of fabric has its own unique qualities that can greatly influence the final product. For instance, if you’re designing a dress for summer, lightweight cotton or linen might be ideal due to their breathability. On the other hand, if you’re creating a winter coat, opting for wool or a thicker blend will provide warmth and comfort. It’s also important to consider the texture and drape of the fabric. A fabric like silk has a beautiful flow, making it perfect for elegant evening wear, whereas denim is sturdy and suitable for casual wear. Always prioritize quality; investing in durable fabrics ensures your designs not only look good but also last longer. When in doubt, request fabric swatches from suppliers to feel the material and see how it behaves before making a final decision.
- Consider the type of garment you are designing
- Understand the different fabric types (cotton, polyester, linen, etc.)
- Check for fabric weight and drape
- Look at fabric patterns and textures
- Assess fabric durability and care requirements
- Consider the seasonality and climate for wear
- Explore sustainable and eco-friendly fabric options
3. Taking Accurate Measurements
Accurate measurements are the cornerstone of a well-fitting garment. Start by measuring key areas such as your bust, waist, hips, and inseam. Use a flexible measuring tape for precision, and make sure it’s snug but not tight, as this affects the fit. For bust measurement, wrap the tape around the fullest part, ensuring it’s parallel to the floor. When measuring your waist, find the natural waistline, typically just above your belly button. For hips, measure around the widest part. If you’re unsure about doing this yourself, ask a friend or a tailor for assistance to ensure accuracy. Remember, even small discrepancies can lead to significant issues in fit and comfort. It’s a good idea to take your measurements multiple times to confirm consistency.
4. Creating Design Sketches
 Credits: istitutomarangonimiami.com
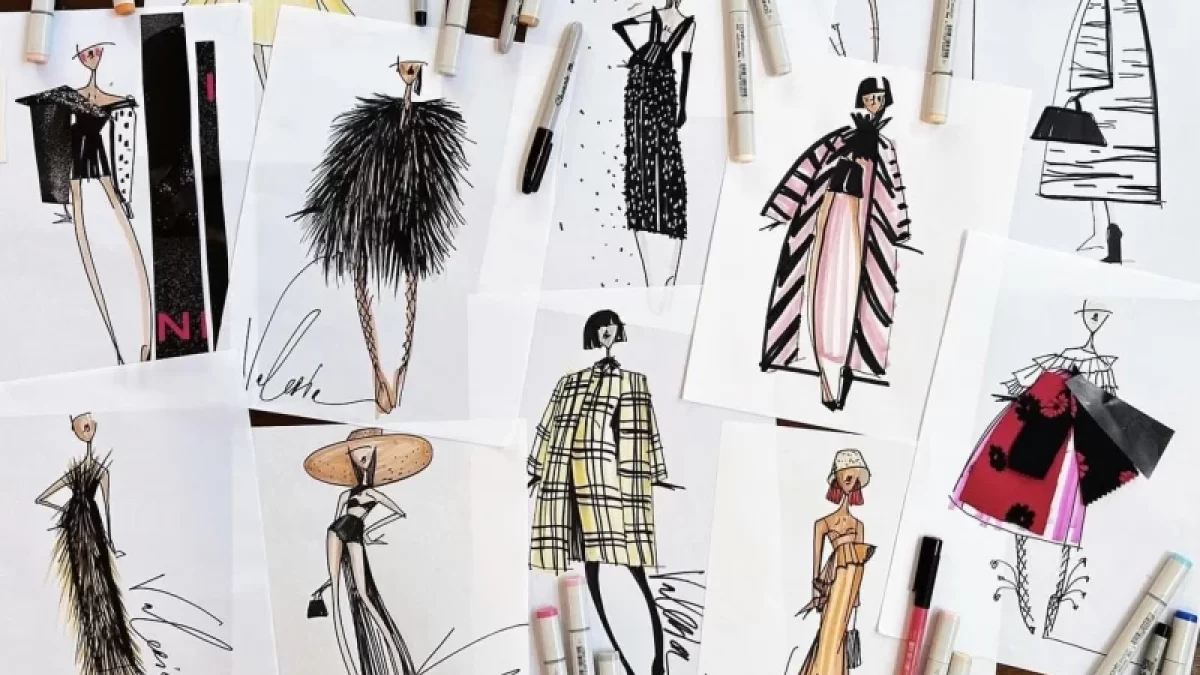
Creating design sketches is an essential step in the custom clothing design process. Sketching allows you to bring your ideas to life on paper, serving as a visual reference for your garments. Start with basic shapes to outline the silhouette of your design. Focus on proportions and the overall flow of the piece. You don’t need to be a professional artist; simple sketches can effectively communicate your vision.
Use tools like sketching pencils, erasers, and high-quality drawing paper to create clear and clean drafts. As you sketch, consider different design elements such as necklines, sleeve styles, and lengths. Experiment with various embellishments like pockets, zippers, or unique hem finishes. This iterative process can lead to creative breakthroughs, enabling you to refine your ideas.
Additionally, you can utilize digital sketching tools or apps that offer features like layering and coloring, making it easier to visualize your designs. For instance, tools like Adobe Illustrator or Procreate can help you create more polished designs that are easier to share with manufacturers or collaborators. Remember that sketches are a starting point; they can evolve as you receive feedback or discover new inspirations.
5. Drafting Patterns
Pattern-making is a crucial step in custom clothing design. Start by familiarizing yourself with basic concepts, including grainline and seam allowance. Grainline refers to the direction of the fabric threads, which can affect how the garment drapes. Seam allowance is the area between the edge of the fabric and the stitching line, allowing space for seams. You can use basic pattern blocks as a foundation. These are standard shapes that can be adjusted to fit your design. For example, if you’re making a shirt, you can modify the sleeve shape or the neckline to match your vision. Ensure that your patterns reflect your specifications to achieve a personalized and flattering fit. If you’re unsure about your drafting skills, consider using pattern-making software or templates available online to guide you.
6. Cutting Fabric and Assembling Pieces
Prepare your fabric by pre-washing and ironing it to remove any wrinkles and prevent shrinkage later. Once your fabric is ready, carefully cut your patterns according to the grainline and markings. Use quality cutting tools like fabric scissors or rotary cutters for precision; this will help avoid frayed edges and uneven cuts. After cutting, it’s time to assemble the pieces. Start by pinning the fabric sections together, aligning the edges and matching seams accurately. This step is crucial as it ensures that your fabric pieces fit together properly before you start stitching. Take your time during this phase, as proper alignment will lead to a better final product.
7. Sewing Techniques and Equipment
 Credits: weallsew.com
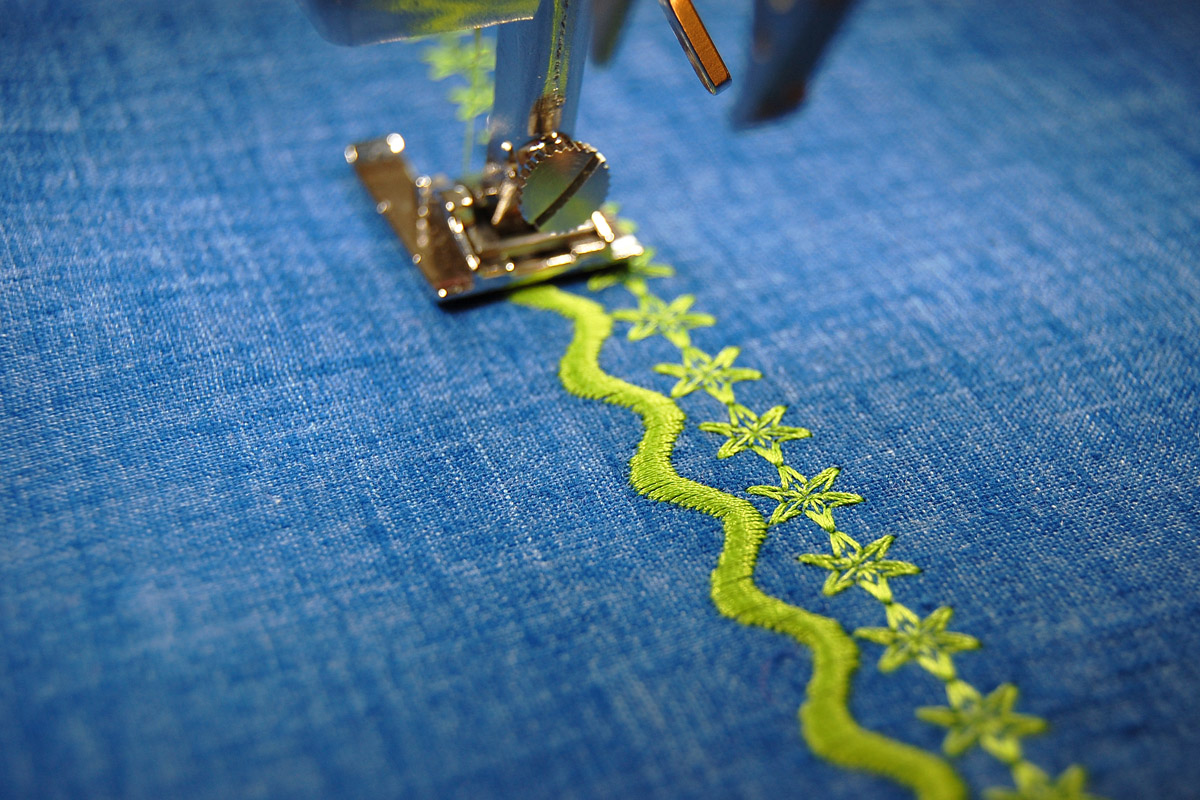
Having the right sewing techniques and equipment is crucial for creating high-quality custom clothing. Start with a basic sewing machine, which can handle various stitches for different fabric types. Familiarize yourself with essential techniques such as straight stitching, zigzag stitching, and backstitching for strength. As you grow more confident, you can explore advanced techniques like French seams for a clean finish or using a serger for professional-looking edges.
Don’t forget about hand-sewing skills, too. Techniques like whip stitching and slip stitching can be useful for hems and finishing touches. Investing in quality tools, such as sharp scissors, seam rippers, and measuring tapes, will make your sewing experience smoother and more enjoyable. For instance, a rotary cutter can provide precision when cutting fabric layers, while a walking foot can help manage multiple layers of fabric during sewing.
Practice is key, so start with simple projects to hone your skills. Consider creating accessories like bags or simple skirts before tackling more complex garments. This approach allows you to experiment with different techniques without the pressure of a larger project. Remember to keep your sewing area organized to maintain focus and efficiency.
8. Adding Embellishments and Details
Incorporate unique embellishments to elevate your designs. This could include embroidery, lace trims, or even appliqué work. For instance, adding a floral embroidery design on the shoulders of a simple blouse can transform it into a standout piece. You can also think about using beads or sequins for a touch of sparkle, perfect for evening wear. Experiment with different techniques, such as hand-sewing for a personal touch or machine embroidery for precision and durability. Keep in mind that embellishments should complement your overall design without overpowering it, so choose wisely to enhance the visual interest of your garments.
9. Fitting and Adjustments
Fitting sessions are crucial for achieving the perfect fit. Schedule fittings throughout the construction process to assess and make necessary alterations. Start with a basic muslin or prototype of your design to test the overall shape and how it drapes on the body. During the fitting, pay attention to areas like the shoulders, bust, waist, and hips. Common adjustments may include taking in or letting out seams, altering sleeve length, and adjusting hem lengths. For example, if a dress feels too tight around the bust, you can let out the side seams for more comfort. Always remember to check how the fabric behaves in different positions, like sitting or raising your arms, to ensure it moves with you. Document any changes you make to your pattern for future reference, as this will help you refine your designs over time.
10. Finalizing Finishing Touches

Before showcasing your creations, focus on the finishing touches. Start by pressing your garments to give them a polished look. This step can significantly enhance the overall appearance, making seams crisp and fabrics smooth. Next, apply seam finishing techniques such as zigzag stitching or using pinking shears to prevent fraying and increase durability. It’s also essential to conduct a quality check; inspect each piece for any loose threads, uneven hems, or other imperfections that could detract from the finished product. Consider adding care labels to inform the wearer about washing and maintenance, ensuring your custom clothes remain in top condition.
11. Storing and Caring for Custom Clothes
Proper storage practices are vital for preserving your custom garments. Always store them in a clean, dry environment to prevent mold and mildew. Use padded hangers for delicate fabrics like silk to maintain their shape and avoid stretching. For heavier items like jackets, opt for sturdy hangers that can support the weight without causing damage. If you need to fold your clothes, use acid-free tissue paper to help maintain their form and prevent creases.
When it comes to washing, always follow the care instructions on the label. For most custom clothing, hand washing in cold water is the safest option, as it reduces wear and tear. If machine washing is necessary, use a gentle cycle with a mild detergent and place the garment in a mesh laundry bag to protect it. Avoid using bleach, as it can damage the fabric and alter the colors.
After washing, air drying is preferable. Lay flat or hang to dry in a shaded area to prevent fading from sunlight. If ironing is needed, always check the fabric type and use the appropriate heat setting. For intricate details or embellishments, consider using a pressing cloth to avoid direct contact with the iron. By following these care tips, you can ensure that your custom clothing remains vibrant and lasts for years.
12. Branding and Labeling
Branding is a crucial aspect when designing your custom clothing line. It helps establish an identity for your garments and connects with your target audience. Start by creating personalized labels that showcase your logo or brand name. This not only adds a professional touch to your pieces but also makes them more recognizable. Think about what sets your brand apart and define your target audience clearly. For instance, if your designs are eco-friendly, emphasize that in your branding story. Consider using social media and a website to share your brand’s journey and values, which can foster a loyal customer base. Additionally, always ensure consistency in your branding across all platforms, from labels to packaging, to create a cohesive image that resonates with your audience.
13. Choosing the Right Vendor
 Credits: freepik.com
When it comes to selecting the right vendor for your custom clothing, there are several factors to consider. First, look for a vendor that aligns with your quality standards. This includes checking the types of materials they offer and their production techniques. For instance, if you want high-quality garments, choose a vendor known for their attention to detail and craftsmanship.
Next, explore their range of services. Some vendors may offer design assistance, while others focus solely on printing or manufacturing. If you need help with design, opt for a vendor that provides design tools or support.
Delivery times are also crucial. Ensure the vendor can meet your deadlines, especially if you have a specific launch date in mind. Look for vendors that guarantee delivery dates and provide tracking information.
Research reviews and testimonials to gain insights into their reliability and customer service. Websites like Trustpilot or Google Reviews can provide valuable feedback from previous customers. You might also consider reaching out to other designers for recommendations based on their experiences.
Lastly, consider the vendor’s pricing structure. While it may be tempting to choose the cheapest option, remember that you often get what you pay for. Balance cost with quality to find a vendor that offers good value for your investment.
14. Stay Inspired and Educated
Staying inspired and educated is essential in the ever-evolving world of fashion design. To keep your creativity flowing, immerse yourself in various sources of inspiration. Follow fashion blogs, attend local art exhibitions, and explore historical fashion archives. For instance, studying vintage designs can spark fresh ideas for contemporary pieces. Additionally, understanding color theory and fabric textures can significantly enhance your design capabilities. Consider taking online courses or workshops focused on fashion design to sharpen your skills. Utilizing design software can also help in visualizing your creations more effectively. By continuously learning and seeking inspiration, you can elevate your custom clothing designs and stay ahead in the fashion game.
15. Exploring Online Design Tools
Online design tools have revolutionized the way you can create custom clothing. These platforms offer user-friendly interfaces that allow you to experiment with designs easily. For instance, tools like Canva or Adobe Spark let you add graphics and text to clothing templates. Most custom clothing websites also provide built-in design software that allows you to select styles, colors, and sizes, making it easy to visualize your ideas.
When using these tools, take advantage of features like layering, which lets you place different design elements on top of each other for a more complex look. Many platforms also offer templates to help you get started if you’re unsure where to begin. For example, you might find a basic t-shirt template and then customize it by adding your graphics or text.
Also, consider using 3D design tools like Clo3D or TUKAcad, which allow you to see how your designs will look in real life. These tools can simulate fabric drape and fit, giving you a better idea of how your garment will turn out before it’s made. You can also share your designs with friends or potential customers for feedback, which can be invaluable in refining your creations.
Lastly, most platforms support exporting your designs in various formats, making it easier to communicate your ideas to manufacturers or other designers. With so many online design tools available, you can unleash your creativity and bring your custom clothing vision to life.
Frequently Asked Questions
1. How do I start designing my own custom clothing online?
To start designing your own custom clothing online, choose a website or platform that lets you create designs. You will typically select a clothing item, pick colors and sizes, and add your designs or text.
2. What software or tools do I need to create custom clothing designs?
You don’t need special software to design custom clothing. Most online custom clothing platforms have user-friendly design tools that let you create your designs directly on their site.
3. Can I use my own images or designs for custom clothing?
Yes, you can usually upload your own images or designs. Make sure they are high quality and follow the website’s guidelines for sizes and formats.
4. What types of clothing can I design online?
You can design a variety of clothing items online, including t-shirts, hoodies, hats, and more. It depends on the platform you choose.
5. Are there any tips for making my custom clothing design stand out?
To make your design stand out, use bold colors, catchy phrases, or unique graphics. Keep your design simple and make sure it represents your personal style.
TL;DR Designing custom clothing online involves careful planning, from defining your style to selecting fabrics, taking measurements, and creating design sketches. Understand pattern drafting and master sewing techniques for a polished finish. Incorporate unique embellishments, ensure proper fitting, and consider branding if launching a clothing line. Use online tools for inspiration and enhance your skills to bring your fashion vision to life.

