The holiday season brings about joy and warmth, with the Christmas tree being a central figure in celebrations. To create an elegantly designed tree that makes a statement, start by choosing the right type of tree—consider its height, fullness, and whether it’s pre-lit for convenience. Once selected, fluff the branches to achieve a lush look and add lights evenly for that polished finish. Establishing a cohesive color scheme is essential; combinations like classic red and green or elegant metallics can elevate your design. Layering garlands and ribbons adds depth, while strategically placed ornaments enhance visual interest. Finally, thoughtful finishing touches will truly make your tree shine!
1. Choosing the Right Tree
:strip_icc()/best-types-christmas-trees-88b3e3d4a41a459283fb2e0d57e7074c.jpg) Credits: mydomaine.com
Credits: mydomaine.com
Choosing the right Christmas tree is the first step in creating an elegant holiday display. Start by assessing the space where the tree will stand. Consider the height and fullness of the tree; a taller, fuller tree can serve as a stunning focal point, while a smaller tree might be more suitable for compact spaces. Fresh trees, like Frasier firs or Douglas firs, offer a classic look and a delightful scent, whereas faux trees provide convenience and longevity, often coming in a variety of styles and colors.
Additionally, pre-lit trees can save you time and effort, ensuring that your lights are evenly distributed. If you prefer a more traditional approach, you might choose a tree that you can string lights on yourself. When it comes to texture and color, flocked trees can create a magical, wintery feel, while natural green trees present a timeless aesthetic. Ultimately, the right tree should not only fit your space but also resonate with your personal style, setting the stage for a beautifully designed Christmas tree.
2. Preparing Your Tree
Once you have your tree, it’s essential to prepare it properly. Start by fluffing the branches; this means taking time to spread them out to create a full, lush appearance. This step is crucial, especially for faux trees, as it enhances their realism. Next, if your tree isn’t pre-lit, it’s time to add lights. String them evenly throughout the branches before you begin adding decorations. Warm white lights create a classic look, while colored lights can bring a vibrant atmosphere. Make sure to test the lights beforehand to ensure they work and are evenly spaced.
3. Establishing a Color Scheme
A cohesive color scheme will elevate your tree’s elegance. Consider the mood you want to create when selecting your colors. For a classic and traditional look, the combination of red and green is timeless, evoking the warmth of the holidays. If you’re aiming for a more sophisticated touch, metallics like gold, silver, and bronze can add a luxurious feel, reflecting light beautifully and creating a sparkling effect. For a modern twist, pastel colors such as soft pinks, blues, and greens can create a whimsical and fresh vibe. Alternatively, a monochromatic scheme using varying shades of a single color can provide a striking and elegant look. For example, using different shades of blue can create a serene and calming atmosphere. Whichever color scheme you choose, ensure that it complements your home decor and reflects your personal style.
| Color Scheme | Description |
|---|---|
| Classic Red and Green | Timeless and traditional. |
| Metallics (Gold, Silver, and Bronze) | Adds a touch of luxury and sophistication. |
| Pastels | Soft hues create a whimsical and modern vibe. |
| Monochromatic | Using shades of a single color can create a striking and elegant look. |
4. Layering with Garland and Ribbon
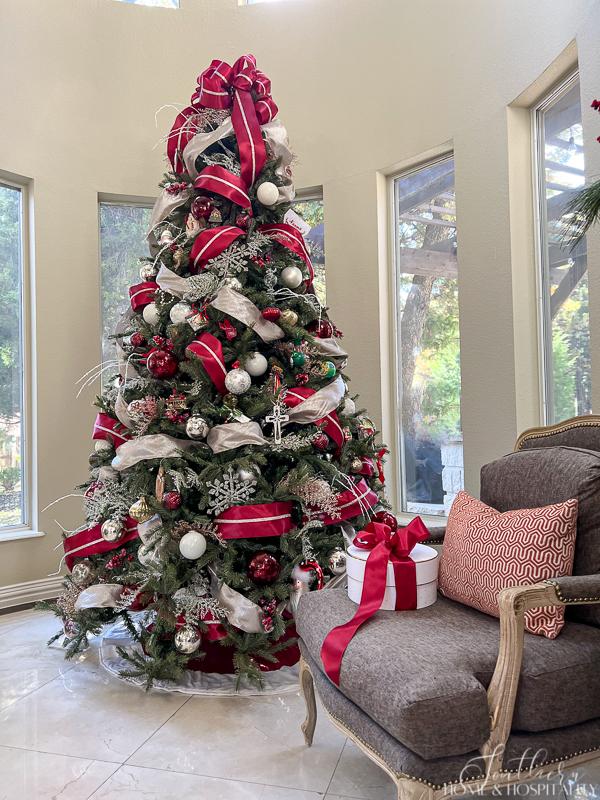
 Credits: southernhomeandhospitality.com
Ribbons and garlands are vital for adding texture and depth to your Christmas tree, making it look more luxurious and visually appealing. Start by adding garlands first; instead of wrapping them around the tree, drape them in a zigzag pattern down the branches. This creates a more organic and flowing look. You can choose different types of garlands, like beaded, popcorn, or even natural elements like dried oranges or cranberries, depending on your theme.
When it comes to ribbons, opt for wired varieties, as they hold their shape better. Layer ribbons of varying widths and textures for added interest. Techniques such as the ‘Single Loop’—where you create a simple loop and let the ends hang down—or the ‘Twist & Tuck,’ which involves twisting the ribbon around branches, can introduce dimension. For a more dramatic effect, consider using a ‘Faux Bow’ that can be easily shaped and positioned as a focal point on the tree.
Combining garlands and ribbons not only enhances the visual appeal but also helps to frame the ornaments you will add later, making your tree appear more cohesive and thoughtfully designed.
5. Adding Ornaments
Ornaments are the heart of the tree’s design. Start by placing larger ornaments deep within the branches to fill gaps and create visual weight. This technique ensures that your tree has a balanced look right from the base to the top. Afterward, layer in medium and smaller ornaments, distributing them evenly across the tree. It’s important to hang them at varying depths; some closer to the trunk and others at the tips of the branches. This adds depth and interest, making the tree look more dynamic.
Consider using unique shapes and textures when choosing ornaments. For example, mixing glass ornaments with wooden or metal ones can create a rich visual tapestry. You might opt for traditional round ornaments but also add stars, snowflakes, or even personal mementos that hold special meaning. This not only enhances the overall aesthetic but also tells a story, making your tree a reflection of your family’s journey and traditions.
- Choose a color scheme that complements your room
- Mix different shapes and sizes of ornaments
- Incorporate sentimental ornaments for a personal touch
- Use thematic ornaments (e.g., stars, snowflakes).
- Make use of different materials (glass, wood, fabric)
- Ensure balance by distributing ornaments evenly across the tree
- Add a few oversized ornaments for dramatic effect
6. Incorporating Natural Elements
Incorporating natural elements into your Christmas tree design can bring warmth and a sense of the outdoors inside your home. Start by adding fresh greenery, such as sprigs of eucalyptus or pine, which not only look beautiful but also provide a lovely scent. These can be tucked into the branches or draped as garlands for an organic feel.
Pinecones are another excellent choice. You can use them as ornaments or attach them to the tree with twine to create a rustic charm. Consider using twigs or branches to add height and texture; they can be placed at the top of the tree or scattered throughout for balance.
For a pop of color, think about incorporating berries, either real or artificial, which can add a festive touch. You might also want to look into dried flowers or even fruit such as oranges or lemons for a unique twist. These natural elements not only enhance the visual appeal but also connect your holiday decor to the beauty of nature.
7. Finishing Touches
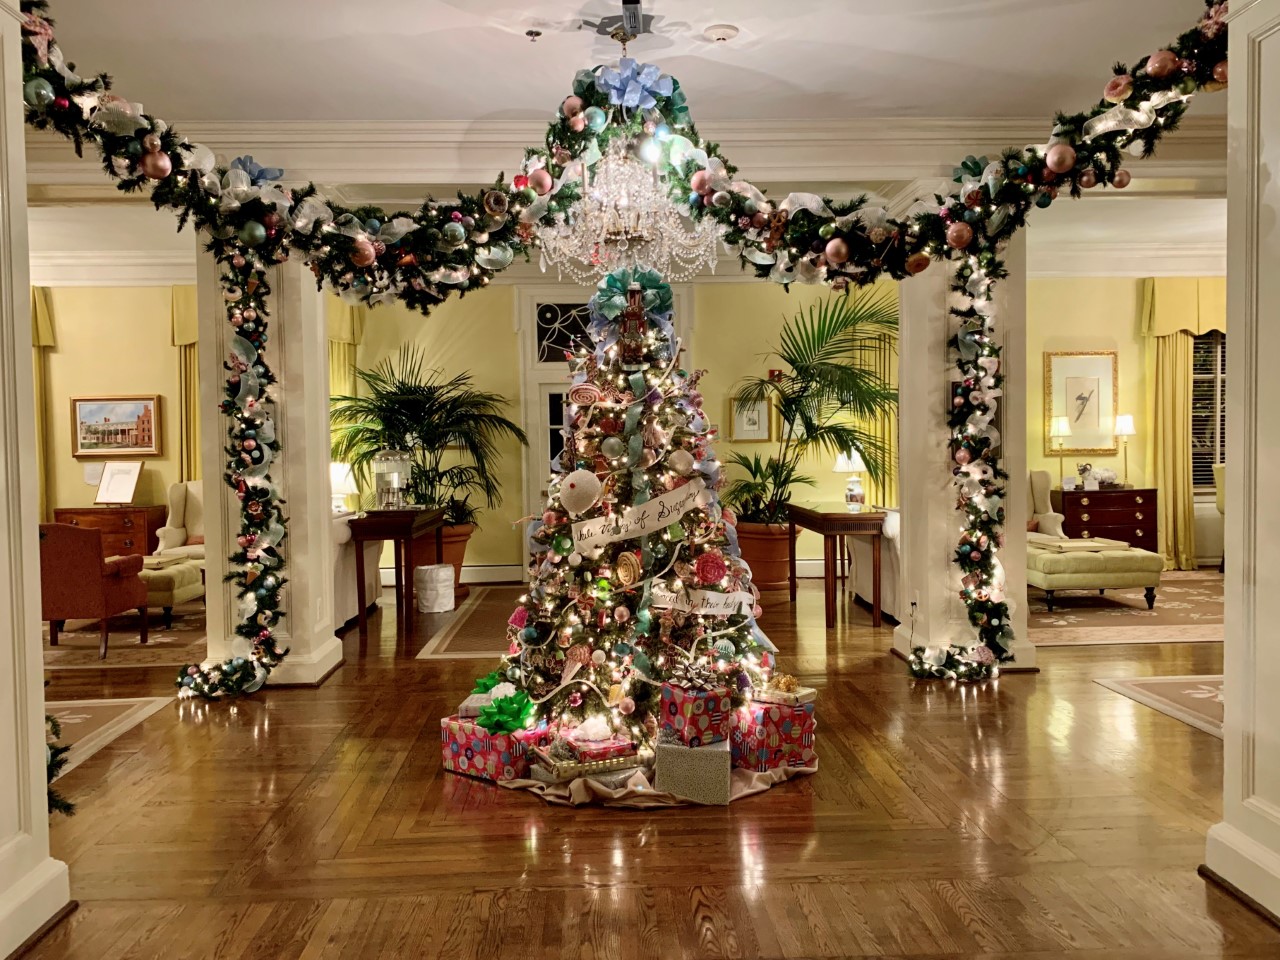
 Credits: chapelboro.com
Complete your tree with thoughtful details to enhance its elegance. Start with the tree topper, which can be an angel, star, or even a large decorative bow. This piece serves as the crowning glory, drawing the eye upward and providing a focal point. Next, consider the base of your tree. A decorative tree skirt or collar can beautifully hide the stand and add to the overall aesthetic, making the tree look polished and complete.
Don’t forget about the gifts! Wrapping them in paper that coordinates with your tree’s color scheme can create a cohesive look. You might use solid colors, patterns, or even metallics that echo the decorations on your tree. This attention to detail will make your tree feel like a curated display, enhancing its visual impact. Lastly, consider adding small accents like ornaments hanging from the branches or decorative picks that can peek out from the foliage, creating layers of interest throughout the tree.
8. Final Adjustments and Enjoyment
After decorating, take a step back and evaluate your work. Adjust any ornaments or elements to ensure balance and harmony. If one area seems too crowded, consider redistributing some ornaments to create a more even look. Don’t forget to check the lighting; make sure all lights are functioning and evenly distributed. You might even want to dim the room lights to see how your tree glows in the soft light.
Remember, the most important aspect of your Christmas tree is that it reflects your personal style and brings joy to your home. Whether you choose a traditional approach or a modern twist, the effort you put into designing your tree will create lasting memories for years to come.
Frequently Asked Questions
1. What are some key tips to make my Christmas tree look stunning?
Start with a solid shape, use a variety of ornaments, add lights evenly, and consider a color theme to tie everything together.
2. How do I choose the right ornaments for my tree?
Select ornaments that fit your chosen theme, mix sizes and shapes for visual interest, and incorporate personal keepsakes for a unique touch.
3. What is the best way to arrange lights on my Christmas tree?
Begin at the bottom and work your way up, wrapping lights around branches in a zigzag pattern to create depth and avoid dark spots.
4. Can I use natural elements in my Christmas tree design?
Absolutely! Incorporate pinecones, berries, and even small branches for an organic feel that adds texture and warmth to your tree.
5. How can I make my Christmas tree stand out without spending too much?
Get creative with DIY decorations, use what you already have at home, and focus on strategic placements to create a cohesive look.
TL;DR This guide provides steps to design an elegant Christmas tree that stands as a stunning centerpiece. Begin by choosing the right tree considering its height, fullness, and whether it’s pre-lit. Prepare the tree by fluffing the branches and adding lights. Establish a cohesive color scheme, layer with garland and ribbon, and add ornaments starting with larger ones. Incorporate natural elements like greenery and pinecones for a rustic touch, then finish with a tree topper and skirt. Finally, make adjustments for balance and enjoy the festive ambiance you’ve created.

