Adobe Illustrator provides a range of tools for cutting out shapes from various objects, allowing designers to create unique graphics. One popular method is using the Pathfinder Tool, which simplifies the process significantly. First, draw your target shape and arrange it above the background objects before using the “Minus Front” option in the Pathfinder panel. Alternatively, you can opt for a Clipping Mask to non-destructively hide sections of shapes or utilize the Knife Tool for freeform cuts. Each method has its own advantages; experimenting will help you discover which technique fits best with your design style and needs. Happy designing!
1. Overview of Cutting Shapes in Illustrator
Adobe Illustrator provides various tools to cut out shapes from multiple objects, allowing designers to create complex graphics with ease. This process is essential for customizing designs, whether for logos, illustrations, or other creative projects. By using tools like the Pathfinder, Clipping Mask, Knife Tool, Scissors Tool, and Eraser Tool, users can achieve different effects and levels of precision. Each method has its unique strengths; for instance, the Pathfinder tool is great for quick and clean cuts, while the Knife Tool offers more organic and freeform shapes. Understanding these techniques enables designers to manipulate their artwork effectively and unleash their creativity.
2. Method 1: Using the Pathfinder Tool
 Credits: youtube.com
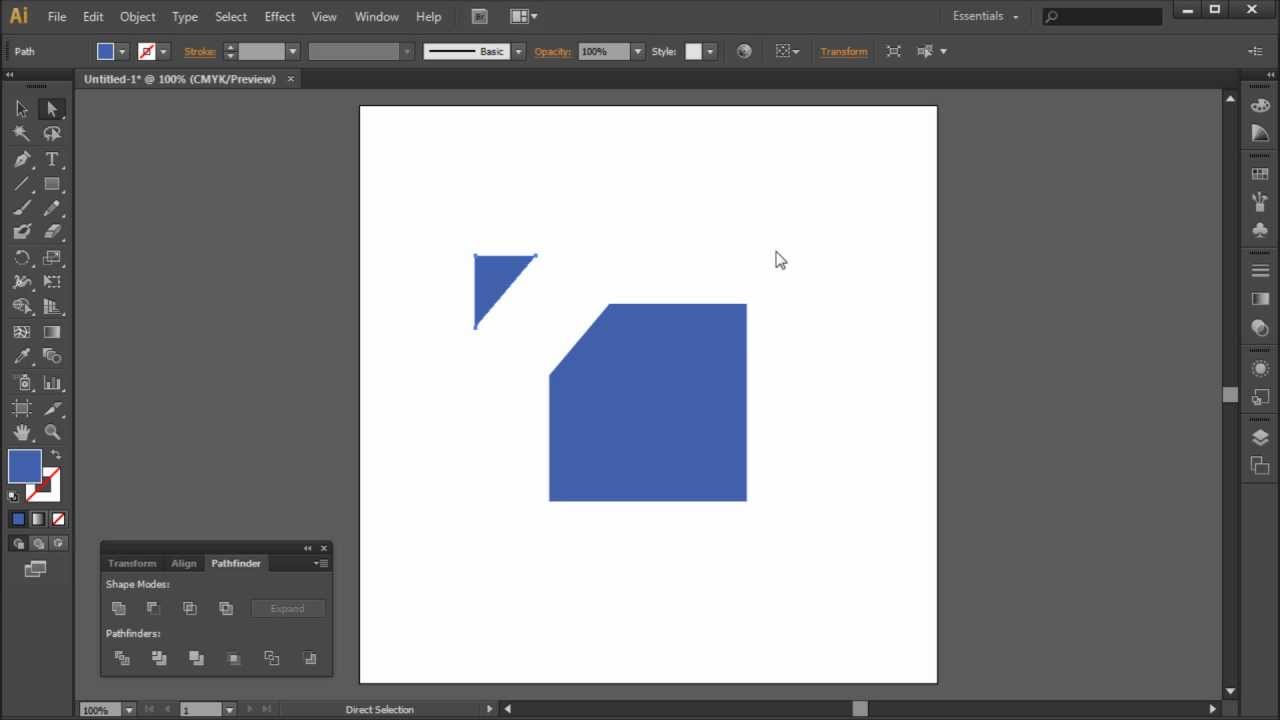
The Pathfinder Tool is one of the most efficient ways to cut out shapes from multiple objects. Here’s how to use it:
- *Create Your Shapes*: First, draw the shapes that you want to cut from and the shape you want to use for the cutout.
- Arrange the Shapes: Make sure the shape you want to cut out is in front of the objects you want to affect. Select the shape and use
Object > Arrange > Bring to Front. - *Select All Shapes*: Hold
Shiftand select both the foreground shape and the background shapes. - Open the Pathfinder Panel: Go to
Window > Pathfinder. - *Use Minus Front*: In the Pathfinder panel, click on the “Minus Front” button (the second icon in the top row). This will cut the shape in front from the shapes behind, creating a cutout.
To achieve better results, ensure all shapes are properly aligned. You can also combine shapes before cutting by using the “Unite” option in Pathfinder.
3. Method 2: Clipping Mask Technique
The Clipping Mask technique is a great way to cut out shapes from multiple objects without permanently altering the original artwork. This method creates a mask that hides parts of the objects beneath, allowing for a non-destructive editing process.
To use the Clipping Mask, start by drawing the shape you wish to use as a mask over the objects you want to cut. This shape can be any vector shape, such as a rectangle, circle, or a custom shape you’ve created. Once you have your cut shape ready, select both the cut shape and the objects you want to mask by holding the Shift key and clicking on each one.
After selecting, you can create the Clipping Mask by right-clicking and choosing ‘Make Clipping Mask’ or navigating to ‘Object > Clipping Mask > Make’. This action will reveal only the parts of the objects that are within the boundaries of your mask shape, effectively cutting them out.
If you need to modify the masked objects later, you can double-click on the masked area to enter Isolation Mode, allowing you to edit the shapes as needed. If you decide you want to see the original shapes again, simply select the masked object and go to ‘Object > Clipping Mask > Release’. This flexibility makes the Clipping Mask technique especially useful for projects requiring multiple adjustments.
4. Method 3: Creative Cuts with the Knife Tool
 Credits: youtube.com
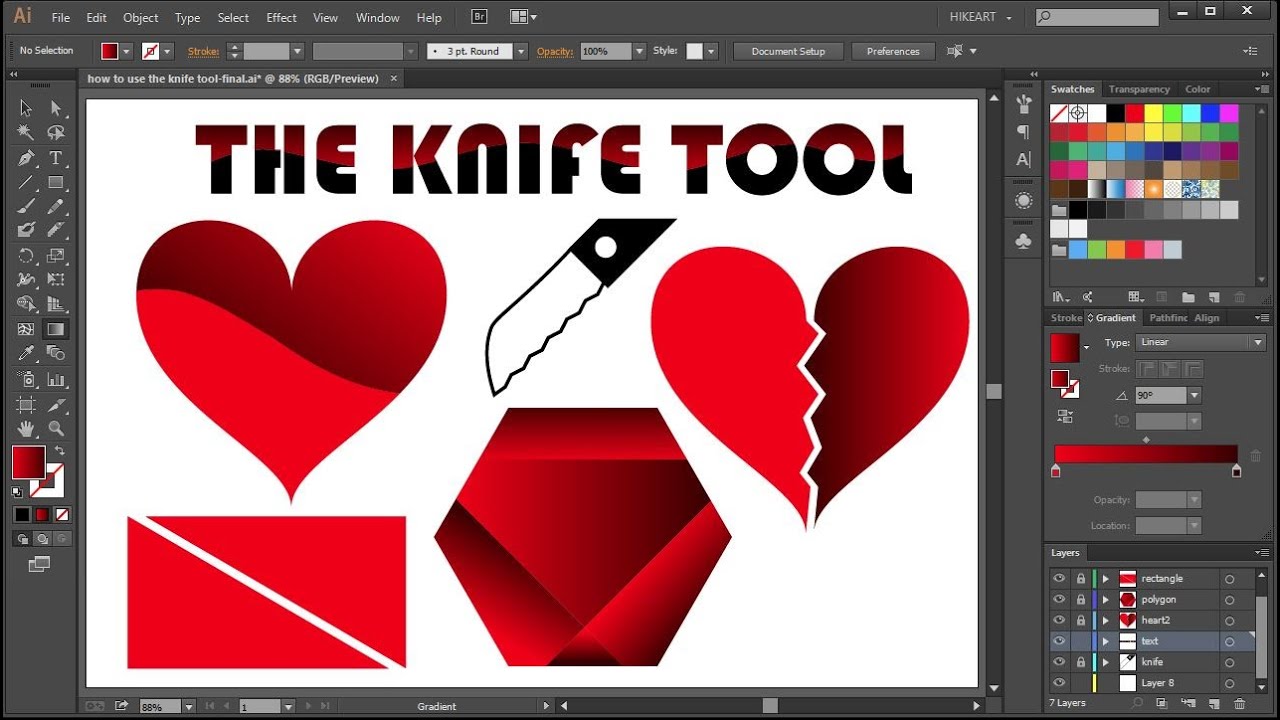
The Knife Tool is a versatile option for making freeform cuts in your designs. To use it, first select the Knife Tool from the toolbar, which may be nested under the Eraser Tool. Once selected, click and drag across the shape you wish to cut. You can create various types of cuts, including straight lines or more organic, zigzag shapes. After making the cut, the original shape will be divided into separate pieces, which you can then select and move apart to create a more dynamic composition.
A key advantage of the Knife Tool is its ability to cut through multiple shapes at once, as long as those shapes are not grouped. This allows for creative freedom in your design process. For more controlled cuts, hold down the Shift key while dragging to constrain your angle, ensuring that your cuts are straighter and more precise.
For example, if you have a circle and want to create a decorative wave pattern, you can drag the Knife Tool in a wave-like motion across the circle, creating multiple segments. Each segment can then be manipulated individually, giving your design a unique and customized look.
5. Method 4: Precision Cutting with the Scissors Tool
The Scissors Tool in Adobe Illustrator is a great option for cutting paths at specific anchor points, providing precision for your designs. To use this tool, first select it from the toolbar. Once selected, click on the anchor points of the shape where you want to create cuts. This action will divide the shape into separate segments at each clicked point. After making the cuts, you can deselect the shape and click and drag the resulting segments apart, allowing you to see the separation clearly.
One important thing to note is that the Scissors Tool only cuts one shape at a time. This can be limiting if you’re working with multiple objects, so it’s best used when you need detailed cuts on individual shapes. If you find yourself needing to join cut segments after using the tool, you can easily do so by using the Direct Selection Tool. This flexibility allows you to refine your design as needed, making the Scissors Tool a valuable addition to your Illustrator toolkit.
6. Method 5: Removing Parts with the Eraser Tool
 Credits: youtube.com
The Eraser Tool in Adobe Illustrator is a versatile option for cutting out shapes by removing unwanted parts directly. To use the Eraser Tool, start by selecting it from the toolbar. Once selected, click and drag over the areas of the shape you wish to erase. This allows you to create unique designs by shaping your objects freely. After using the Eraser Tool, you’ll notice that the remaining parts of your shape will form a new outline based on the areas you erased. For more control, you can adjust the size of the Eraser Tool by double-clicking on its icon in the toolbar, which is helpful for detailed work. Additionally, if you want to erase specific sections of multiple shapes, you can select those shapes first before using the Eraser Tool to ensure you only affect the intended areas. This method is especially useful for creating organic shapes or artistic effects.
7. Tips for Optimal Results in Shape Cutting
When cutting out shapes in Adobe Illustrator, achieving the best results requires attention to detail and a few best practices. First, always ensure your paths are closed. Open paths can lead to unexpected results when using tools like the Pathfinder. If you’re using the Knife Tool, practice smooth strokes for cleaner cuts; jagged lines can create rough edges. For the Scissors Tool, zoom in to accurately select anchor points, ensuring precise cuts. When using the Clipping Mask, remember that you can only see the masked area, so adjust your mask shape carefully to avoid losing important design elements. Consider grouping similar shapes before cutting to maintain organization in your layers. Lastly, experiment with different methods on duplicate objects; this allows you to explore various effects without losing your original designs.
- Ensure your objects are properly grouped before cutting.
- Use layers to manage complex illustrations effectively.
- Experiment with different opacity settings for a better visual outcome.
- Preview your cuts before finalizing to avoid mistakes.
- Use the undo function to revert any unwanted changes swiftly.
- Keep your software updated to utilize the latest features.
Frequently Asked Questions
1. How do I select multiple objects in Adobe Illustrator?
To select multiple objects in Adobe Illustrator, hold down the Shift key and click on each object you want to select. You can also click and drag your mouse to create a selection box around the objects.
2. Can I cut out a shape from different types of objects in Illustrator?
Yes, you can cut out a shape from different types of objects in Illustrator, such as shapes, text, and images.
3. What tools do I need to cut out a shape in Illustrator?
You can use tools like the Pathfinder panel or the Shape Builder tool in Illustrator to cut out shapes from your selected objects.
4. Is there a way to combine objects before cutting out a shape?
Yes, you can combine objects by selecting them and using the ‘Unite’ option in the Pathfinder panel to merge them into one shape before cutting.
5. What should I do if the cutout shape doesn’t look right?
If the cutout shape doesn’t look right, you can use the Undo command (Ctrl+Z or Cmd+Z) to revert any changes and try adjusting the objects or the shape again.
TL;DR This guide outlines five methods to cut out a shape from multiple objects in Adobe Illustrator: 1) Use the Pathfinder Tool for efficient shape cutting. 2) Apply a Clipping Mask for non-destructive edits. 3) Experiment with the Knife Tool for creative, freeform cuts. 4) Utilize the Scissors Tool for precise cuts at anchor points. 5) Remove sections using the Eraser Tool. Each method has specific steps and tips for achieving optimal results.

