Creating unique designs for your Cricut machine can be a fun and fulfilling adventure. To start, understanding the basics of Cricut Design Space is crucial; it’s where all the magic happens. Familiarize yourself with its uploading features and editing tools to personalize your creations. Next, gather necessary tools like graphic design software—Adobe Illustrator or Canva works great! Once you have everything prepared, think about what you want to create. Use your software to map out an idea, save it in a compatible format, then upload it into Design Space for further tweaks before cutting. Happy crafting!
1. Understanding Cricut Design Space
 Credits: daydreamintoreality.com
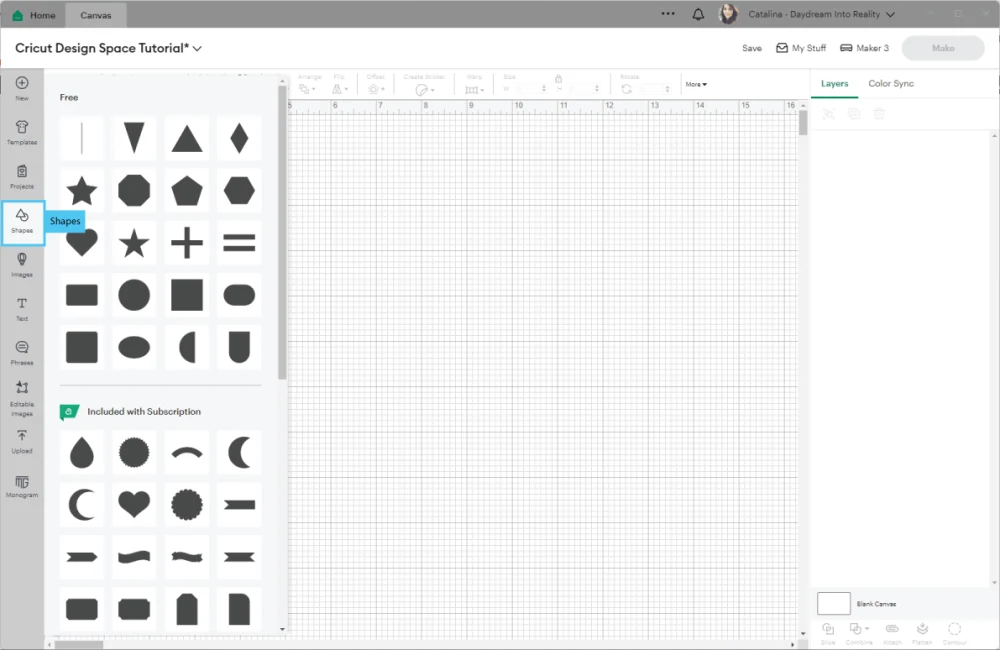
Cricut Design Space is the intuitive software that serves as the heart of your Cricut machine. It allows you to create, edit, and manage your designs efficiently. By getting to know its features, you can unlock your creativity and make the most of your projects. One of the standout features is the ability to upload custom images in various formats like .jpg, .png, and .svg, making it easy to incorporate personal artwork or graphics into your designs. The editing tools are user-friendly, allowing you to adjust shapes, colors, and text effortlessly. If you ever feel stuck, the library of images and templates is a treasure trove of inspiration, offering thousands of options to spark your creativity. Understanding these aspects of Design Space is crucial as you embark on your design journey.
2. Tools Needed for Designing
 Credits: cricut.com
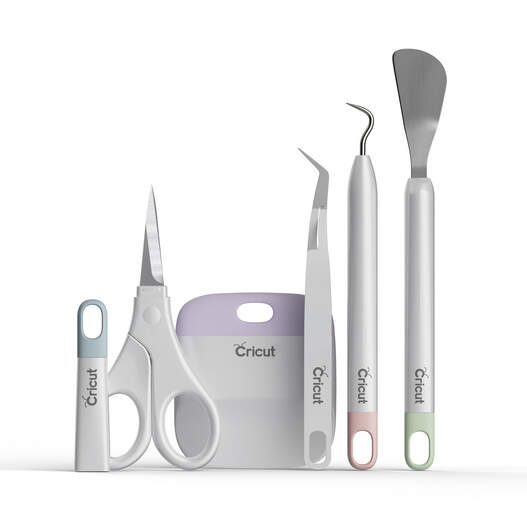
Before you start creating your designs, gather the following tools:
- Graphic Design Software: Programs like Adobe Illustrator, Canva, or PicMonkey are excellent for creating custom designs. These allow you to design text, shapes, and layouts.
- Scanner or Smartphone: If you prefer hand-drawn designs, you can scan your drawings or take pictures of them using your smartphone.
- Computing Device: A computer or tablet to run Cricut Design Space and other graphic design software.
| Tool | Purpose | Examples |
|---|---|---|
| Graphic Design Software | Create custom designs | Adobe Illustrator, Canva, PicMonkey |
| Scanner or Smartphone | Digitize hand-drawn designs | Any scanner or smartphone camera |
| Computing Device | Run Cricut Design Space and design software | Laptop, tablet, or desktop computer |
3. Steps to Create Your Own Designs
 Credits: craftwithsarah.com
Begin by brainstorming ideas for your project. Consider what you want to create, such as decals, cards, or custom apparel. Use your chosen graphic design software to create your design, which could range from a simple quote to a complex graphic. If you’re adding text, select fonts that align with your project’s theme. Once you’re satisfied with your design, save it in a compatible format, ideally SVG for layered designs or PNG for simpler images.
Next, open Cricut Design Space and upload your custom design by clicking on ‘Upload’. Follow the prompts to add your image. If it’s a PNG, you may need to remove the background manually or use the ‘Remove Background’ tool if you are a Cricut Access subscriber. After uploading, you can further edit your design in Design Space—resize it, change colors, or add additional elements as needed.
When you’re ready to cut, select the material type you’ll be using, whether it’s vinyl, paper, or cardstock. Ensure that your blade is suitable for the material. If you’re experimenting with a new design or material, perform a test cut to ensure everything will work as expected.
Once everything is set, load your material onto the cutting mat and insert it into your Cricut machine. Set the material type in Design Space and press the ‘Go’ button to start cutting.
4. Tips for Successful Design Creation
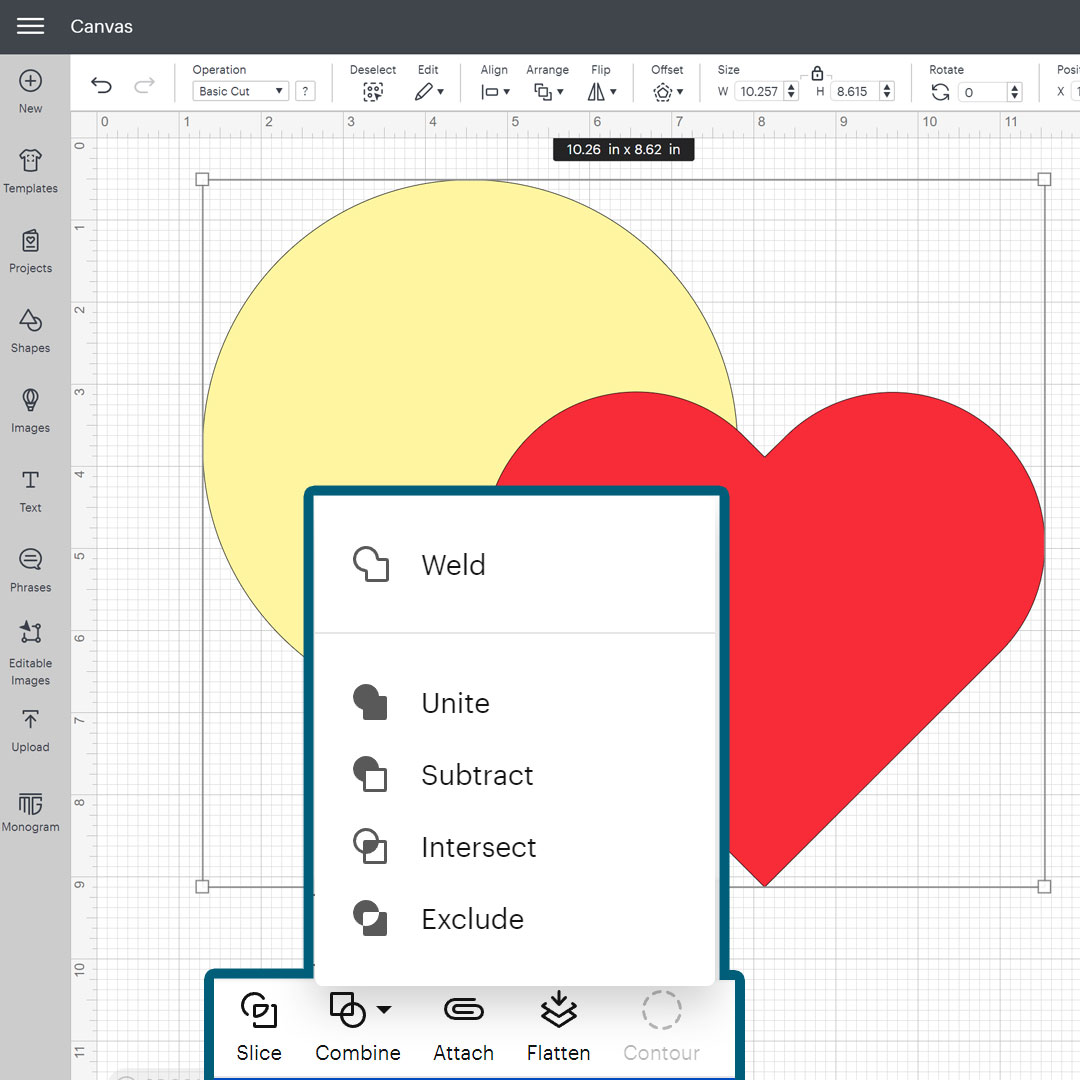
To create successful designs for your Cricut machine, start by using the contour feature. This allows you to hide specific parts of your design that you don’t want to cut, giving you more creative control. Another helpful tool is the warp feature, which can add unique shapes and styles to your text or images, making your designs stand out.
Creating a bounding box around your design can save material, ensuring you make the most of your resources. Additionally, use guide operations to add notes for yourself or others, especially if you’re sharing designs.
Engaging with the Cricut community online can provide you with a wealth of inspiration. Joining Facebook groups or following crafting influencers can help you discover new techniques and ideas. For example, seeing how others use color or layering can spark your creativity and enhance your designs.
- Start with a clear concept or theme for your design.
- Use high-quality images or graphics to ensure clarity.
- Familiarize yourself with the design tools in Cricut Design Space.
- Experiment with different fonts and colors to enhance your design.
- Keep your designs simple; avoid overcrowding elements.
- Save your work frequently to prevent data loss.
- Test your design on a small scale before a large cut.
5. Resources for Design Inspiration
Finding inspiration for your Cricut designs can elevate your projects and spark your creativity. Start with free SVG sites like LoveSVG and Craft Bundles, which offer a vast selection of designs that can be downloaded and customized. These sites often have seasonal designs, popular quotes, and trendy graphics that can give you a head start on your projects.
Online communities are another great resource. Joining Cricut-related groups on platforms like Facebook or Pinterest allows you to connect with fellow crafters who share their designs and techniques. You can ask for feedback, exchange ideas, or even collaborate on projects.
Blogs and YouTube channels focused on crafting are packed with tutorials and project ideas. They often showcase unique design techniques and step-by-step guides that can inspire your next project. Look for channels that focus on Cricut tutorials, as they frequently share tips on how to create custom designs and utilize Design Space features effectively.
Inspiration can also come from everyday life. Consider taking photos of patterns, colors, or objects that catch your eye, and use them as a basis for your designs. Nature, architecture, and even your favorite quotes can inspire unique and personalized creations.
Frequently Asked Questions
1. What software can I use to create designs for my Cricut machine?
You can use design software like Cricut Design Space, Adobe Illustrator, or free options like Inkscape and Canva to create your designs.
2. Do I need to be an artist to make my own Cricut designs?
No, you don’t need to be an artist! You can use templates, images, and text to create beautiful designs even if you’re a beginner.
3. Can I use images I find online for my Cricut designs?
Yes, but make sure you have the right to use those images. Look for images that are labeled for commercial use or that come from a free resource.
4. What file formats does Cricut accept for custom designs?
Cricut machines typically accept SVG, PNG, JPG, and BMP file formats for custom designs.
5. How can I learn to create better designs over time?
Practice is key! You can also watch tutorials online, join crafting forums, and experiment with different tools and techniques to improve your design skills.
TL;DR This guide provides steps to create custom designs for a Cricut machine using Cricut Design Space. Start by understanding the software, gather necessary tools like graphic design software and a computing device, then conceptualize your design. Use design software to create and save your design, upload it to Cricut Design Space, and prepare it for cutting. Tips include using contour features for control and joining online communities for inspiration. Resources such as free SVG sites and crafting blogs can further enhance your design process.

