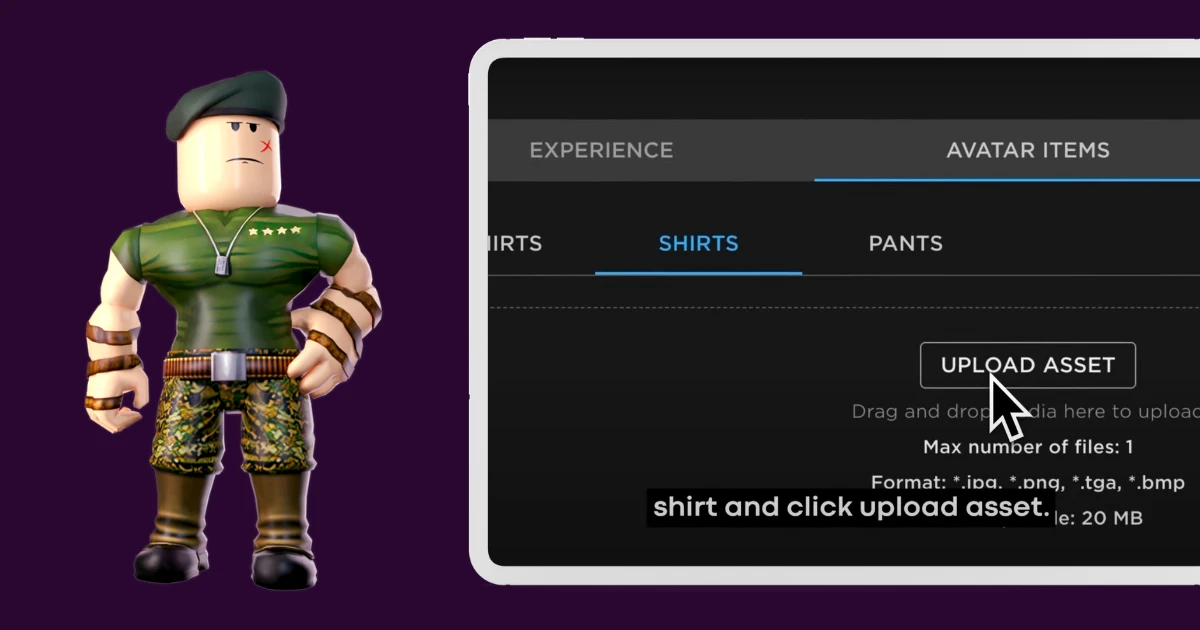
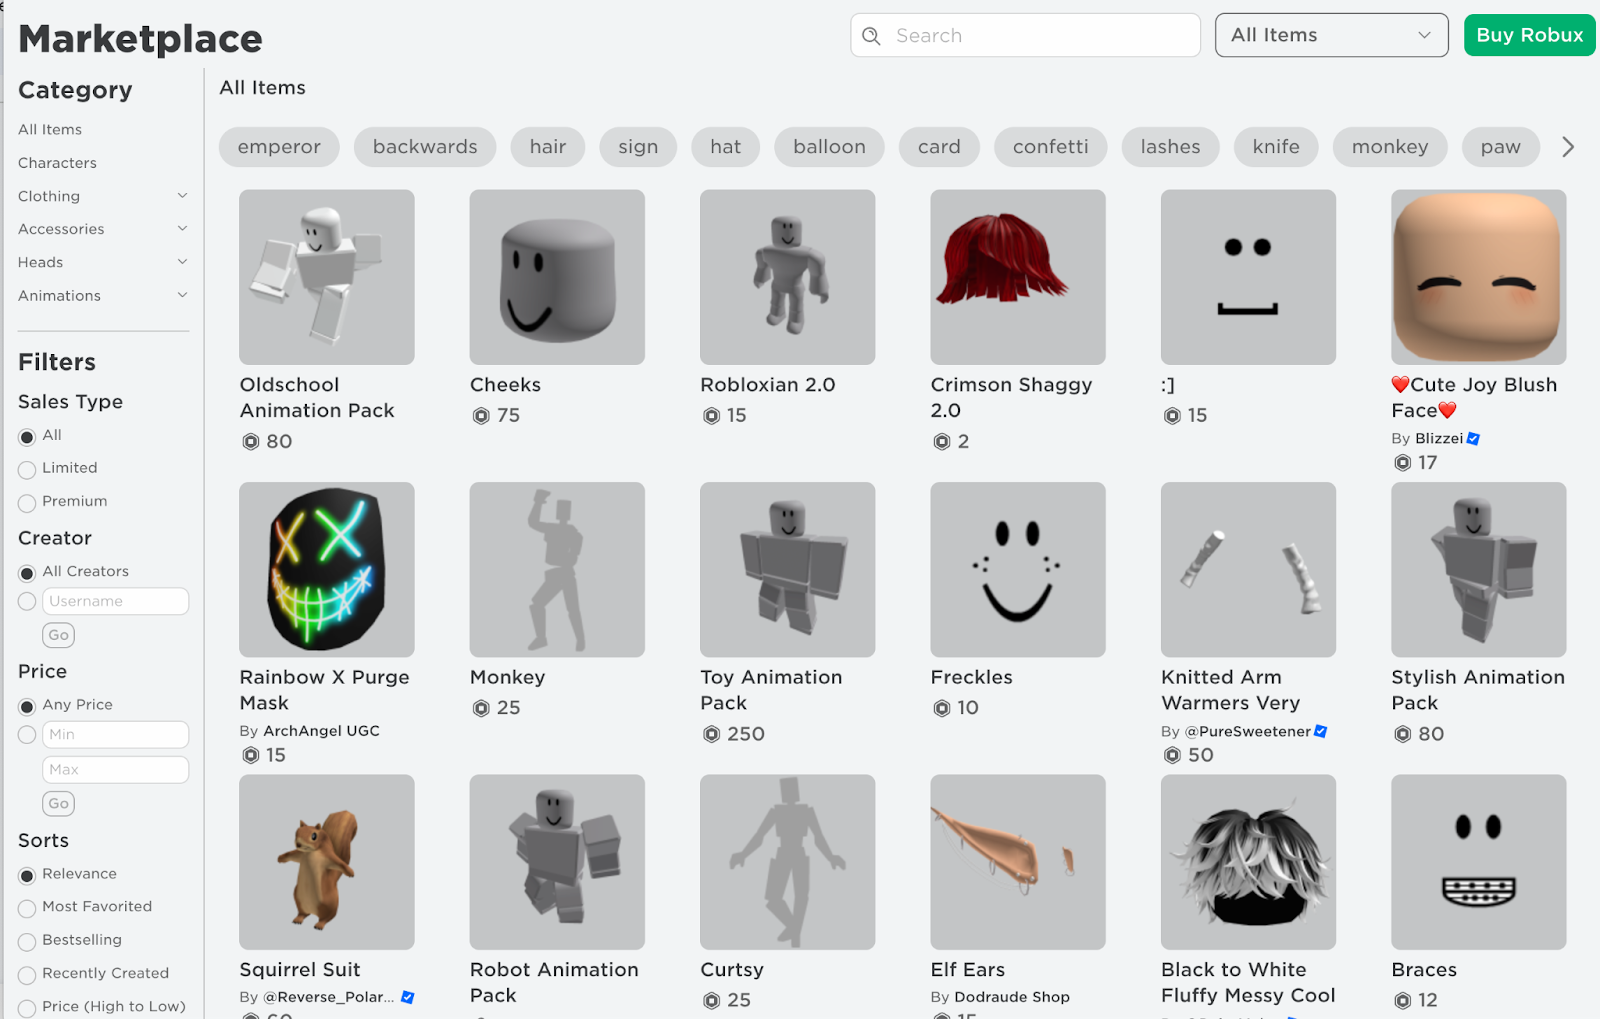
Roblox offers an exciting way for users to show off their creativity with custom clothing designs for avatars. To begin crafting clothes, it’s important to know the different types available like T-shirts, which are simple with just images, and more complex shirts and pants that allow greater variety in design. First, gather tools like image editing software such as GIMP or Adobe Photoshop and Roblox Studio for uploading creations. Download shirt templates from the Roblox website as your canvas for designing. Once your creation is complete in a format like PNG, upload it to Roblox, and you might even turn your passion into profit!
1. Understanding Roblox Clothing Types
In Roblox, there are three main types of clothing items that users can create: T-Shirts, Shirts, and Pants. T-Shirts are the simplest option, allowing you to upload a flat image that displays on the front of your avatar. They have a solid color background and are limited in design. Shirts, on the other hand, offer more creative freedom. They can feature a variety of colors, patterns, and designs that wrap around the torso of your avatar. Lastly, Pants are similar to shirts but are specifically designed for the lower half, allowing for unique styles and patterns to represent your character’s individuality. Each type serves a different purpose, so understanding these differences is crucial for your clothing design journey.
| Clothing Type | Description |
|---|---|
| T-Shirts | The simplest form of clothing. T-shirts can only display an image with a solid color behind it. |
| Shirts | These offer more design flexibility, allowing for a variety of designs, colors, and patterns. |
| Pants | Similar to shirts, but designed specifically for the lower half of the avatar. |
2. Required Tools for Designing Clothes
 Credits: devforum.roblox.com
To craft your clothing items, you’ll need a few essential tools. First, you’ll require image editing software. Programs like Adobe Photoshop, GIMP, or Paint.NET are great for creating and editing images for your designs. These applications allow you to manipulate colors, layers, and textures to bring your ideas to life. Next, you’ll need Roblox Studio, which is the development environment used to upload and test your clothing designs. This platform helps you see how your creations look on avatars before finalizing them. Lastly, don’t forget about Roblox shirt templates. These pre-designed images serve as the base for your clothing designs, ensuring that your creations fit correctly on avatars. You can find these templates on the Roblox website, and they typically come in a standard size of 585 x 559 pixels.
- A computer with internet access
- Roblox Studio installed
- Basic graphic design software (e.g., Photoshop, GIMP)
- Access to Roblox developer resources
- Reference images or sketches of your designs
- A microphone for voiceovers (optional, for tutorial videos)
- A reliable file storage solution for saving your work
3. Accessing Roblox Shirt Templates
To create your custom shirts on Roblox, you first need to access the official shirt templates. Start by logging into your Roblox account. Once logged in, navigate to the Avatar Editor by clicking on the ‘Avatar’ button on the main menu. From there, select the ‘Shirts’ tab to find the shirt template you need. When you click on it, you can download the template, which is typically sized at 585 x 559 pixels. This template serves as the foundation for your design, allowing you to create unique shirts that will fit perfectly on your avatar.
4. Designing Your Clothing
To start designing your clothing, first, open your image editing software and create a new file using the shirt template you downloaded. This template gives you a structure to work with, ensuring your design aligns with Roblox’s clothing guidelines. Begin customizing the template by adding images, patterns, and text. It’s helpful to use layers, as this allows you to manipulate different elements of your design separately, creating depth and texture.
As you design, frequently preview your work within the software. This will help you see how the colors and details come together and allow you to make adjustments before finalizing your design. Remember to save your design as a PNG file to preserve the quality of your images.
Here are some tips to keep in mind while designing: Keep your designs simple and avoid clutter, as this helps maintain clarity. Use high-quality images to prevent pixelation, especially if you’re incorporating photographs or detailed graphics. Finally, after saving, upload your design to Roblox Studio to see how it looks on an avatar. This step is crucial for ensuring that your design fits well and looks great in the game.
5. Uploading Your Clothing to Roblox
 Credits: customuse.com
Once your design is ready, follow these steps to upload it:
- Go to the Roblox website and log into your account.
- Navigate to the Create tab and select “Shirts” or “T-Shirts” depending on what you designed.
- Click the “Create” button and upload your PNG file.
- Fill in the shirt name and description, then click “Upload”. Note that uploading a shirt costs 10 Robux.
- Your design will be reviewed by Roblox for approval, which typically takes a few minutes.
6. Monetizing Your Designs
 Credits: departmentofproduct.substack.com
To start selling your clothing items on Roblox, you will need a Roblox Premium account. Once your shirt is approved, navigate to the Configure option next to your shirt. Here, you can toggle the Item for Sale option. Setting a price is key; prices typically range from 5 to 10 Robux, which are affordable for most players. For example, if you set your shirt price at 7 Robux, it might attract more buyers than a higher price. After saving your settings, your shirt will be listed for sale in the Avatar Shop, allowing other users to purchase it. Keep in mind, promoting your designs on social media or Roblox groups can help increase visibility and sales.
7. Community and Learning Resources
Engaging with the Roblox community can significantly enhance your design skills and creativity. Online forums, social media groups, and Discord servers dedicated to Roblox are great places to connect with other designers. Websites like the Roblox Developer Forum offer a wealth of knowledge, where you can ask questions, share your designs, and receive valuable feedback from experienced creators. Additionally, YouTube is filled with tutorials that cover everything from basic design techniques to advanced strategies for creating eye-catching clothing. For example, channels like “Roblox Design Tutorials” provide step-by-step guides that can help you improve your skills quickly. Participating in these communities not only helps you learn but also keeps you updated on the latest trends and techniques in Roblox clothing design.
Frequently Asked Questions
1. What tools do I need to create clothes in Roblox?
You need a computer, the Roblox Studio software, and basic design tools like graphic editors to make patterns.
2. Can I use my own designs for clothes in Roblox?
Yes, you can upload your own designs as long as they meet Roblox’s guidelines.
3. How do I upload my clothing designs to Roblox?
After creating your design, go to the ‘Create’ section on the Roblox website and follow the instructions to upload your file.
4. What types of clothing can I make on Roblox?
You can create shirts, pants, and t-shirts, each with different design rules.
5. Do I need special skills to design clothes for Roblox?
Basic graphic design skills help a lot, but you can learn as you go!
TL;DR Learn how to craft custom clothing on Roblox by understanding clothing types, utilizing design tools, accessing shirt templates, and following step-by-step design instructions. Upload your creations for a nominal Robux fee and monetize them by setting sales prices if you have a Roblox Premium account. Engage with the community to enhance your skills and creativity.

