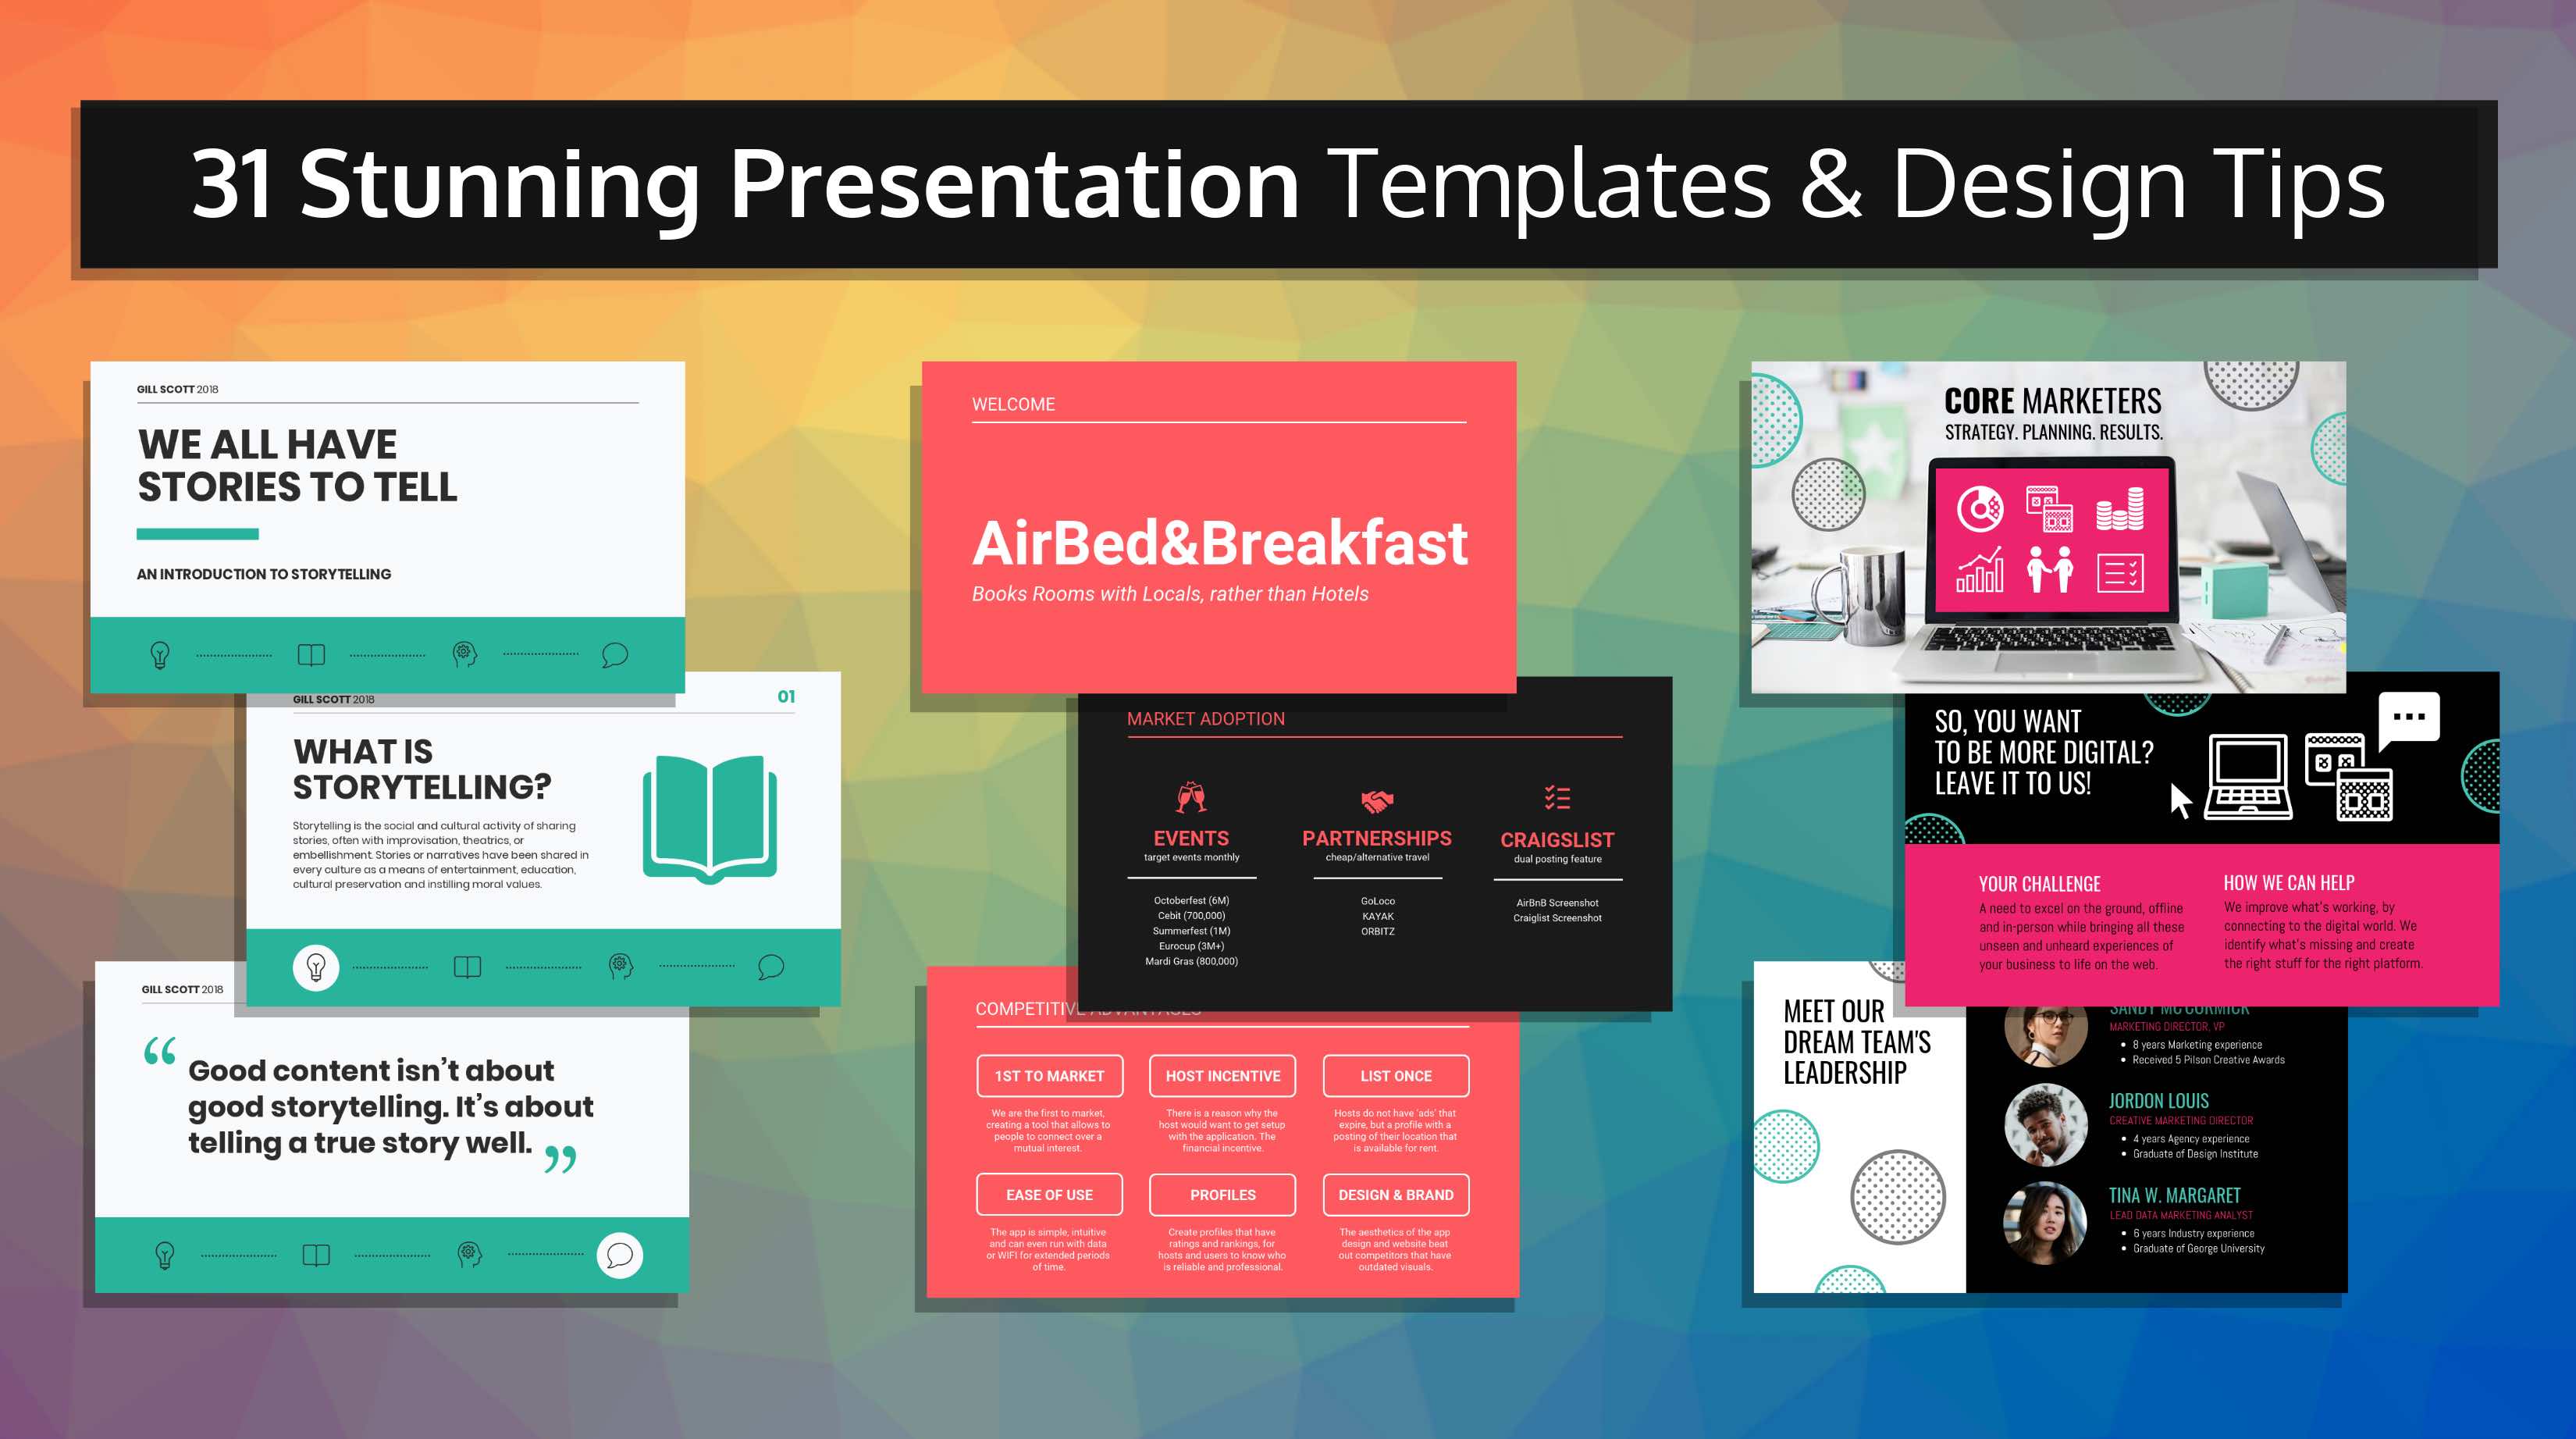
Google Slides is a very useful tool for making presentations that stand out. To customize your design elements effectively, first, it’s crucial to grasp the key components like themes, backgrounds, layouts, and templates. You can easily change your presentation’s theme by navigating to the Slide menu and selecting Change theme. For backgrounds, you have choices between colors or images to enhance slide appeal. Editing layouts can also help in organizing text and visuals better; just select the slide and apply a layout via the same menu. Additionally, using the master slide editor helps maintain consistency across all slides efficiently.
1. Understanding Design Elements in Google Slides
 Credits: youtube.com
In Google Slides, design elements are crucial for creating engaging presentations. These elements include themes, backgrounds, layouts, and templates. A theme encompasses a set of colors, fonts, and styles that give your presentation a cohesive look. For instance, a corporate theme might use professional colors and fonts, while a fun theme could be bright and playful. The background can be a solid color or an image that complements your content. Layouts determine how text and images are arranged on each slide, ensuring that your message is clear and visually appealing. Templates are pre-designed slides that combine these elements, making it easy to start your presentation without having to design from scratch. Understanding these components helps you make informed choices when customizing your slides.
| Design Element | Description |
|---|---|
| Theme | A preset group of colors, fonts, backgrounds, and layouts that defines the overall look of your presentation. |
| Background | The picture or color behind your slide’s content. |
| Layout | The arrangement of text and images on a slide. |
| Template | A pre-designed collection of slides that combines themes, layouts, backgrounds, fonts, and sample content. |
2. Changing the Theme of Your Presentation
To change the theme of your presentation, begin by opening your Google Slides document. Click on the Slide menu at the top of the screen, then select Change theme. A panel will appear on the right side, showcasing a variety of themes you can choose from. Each theme includes a unique set of colors, fonts, and layouts designed to enhance your content’s visual appeal. Simply browse through the available options and click on the one that resonates with your presentation style.
For instance, if you are working on a business proposal, you might opt for a professional theme with muted colors. Conversely, for a school project, a vibrant theme with playful elements could be more engaging. After selecting a theme, it will automatically apply to all your slides, giving your presentation a cohesive look. You also have the option to customize elements within the selected theme later on, ensuring it aligns perfectly with your message.
3. Customizing Backgrounds and Images
Customizing backgrounds and images in Google Slides can significantly enhance the visual appeal of your presentation. To change the background color, select the slide you want to modify, click on ‘Slide’ in the menu, and choose ‘Change background’. From there, you can select a color or input a hex code for a custom shade. If you prefer using an image as a background, simply select the slide, go to ‘Change background’, and click ‘Choose’ next to ‘Image’. You can upload an image from your computer or select one from Google Drive. This flexibility allows you to create a unique look that aligns with your branding or the theme of your presentation.
For example, if you’re presenting about nature, using a soft green background or an image of a forest can set the right mood. Alternatively, for a corporate presentation, a subtle textured background in gray or blue can convey professionalism. You can also choose to apply these backgrounds to all slides by clicking ‘Add to theme’, ensuring a consistent design throughout your presentation.
4. Editing Slide Layouts for Better Impact
 Credits: venngage.com
Editing slide layouts is crucial for creating effective presentations. To change the layout of a specific slide, first select the slide you want to modify. Then, click on Slide in the menu and choose Apply layout. A list of available layouts will appear, allowing you to select one that best fits your content. This helps in organizing your information clearly and makes your slides visually appealing.
For more comprehensive changes, you can utilize the master slide editor. Access this by going to Slide and selecting Edit master. Here, you can edit the master slide, which will impact all slides, or focus on individual layouts. This feature is beneficial for making bulk changes, such as adjusting text placeholders or backgrounds across multiple slides. For instance, if you want to add a logo to every slide, you can do this in the master slide, ensuring consistency without having to repeat the action for each slide.
Additionally, if the default layouts don’t suit your needs, you can create custom layouts. This might include a layout with specific text and image placements tailored for your presentation. By customizing layouts, you enhance the flow of your information, making it easier for your audience to follow along.
5. Using the Master Slide Editor Effectively
The master slide editor allows you to make changes that apply to multiple slides at once, saving time and ensuring consistency. You can modify backgrounds by adding a watermark or logo to all slides, or adjust background graphics to create a cohesive look across your presentation. Additionally, if you frequently rearrange text boxes or image placeholders, doing it once in the master template will apply these changes across all relevant slides, making it easier to maintain a structured design.
You can also customize text formatting directly in the master slide editor. For example, by changing text colors, fonts, and sizes for all slides simultaneously, you ensure a uniform appearance that enhances readability. If the default layouts don’t meet your needs, you can create custom layouts that incorporate your preferred background graphics and placeholders, making your presentation stand out.
Using the master slide editor not only streamlines your design process but also enhances the overall visual appeal of your slides. This tool is essential for anyone looking to create a polished, professional presentation.
6. Importing Custom Themes for Consistency
Importing custom themes in Google Slides is a great way to maintain a consistent look across different presentations. If you’ve designed a unique theme in one presentation and want to use it elsewhere, the process is straightforward. First, open the presentation where you want to apply the custom theme. Then, navigate to the ‘Themes’ pane and click on ‘Import theme.’ You will need to select the presentation that contains your custom theme. Once you’ve chosen it, you’ll see the available themes from that presentation. Click on the theme you want to import, and it will be applied to your current presentation. This feature not only saves you time but also ensures that your branding or visual style remains uniform, making your presentations look more professional and cohesive.
7. Tips for Effective Presentation Design
 Credits: visme.co
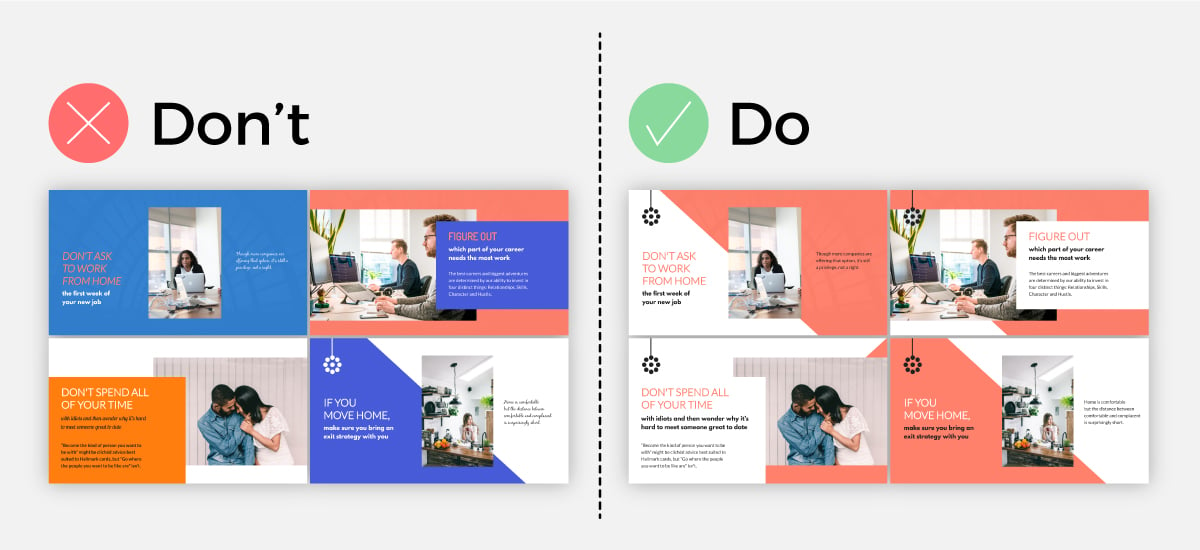
To create effective presentations, it’s essential to maintain consistency by using the same color palette and fonts across all slides. This helps to create a unified look and makes it easier for your audience to follow along. Emphasize key points by using contrasting colors to draw attention to important information; for example, using a bold red font against a white background can highlight critical statistics. Limit the amount of text on each slide to keep them uncluttered, ensuring your audience can digest the information quickly. Incorporate relevant visuals like images, icons, and graphics, as they can enhance your message and make it more memorable. For instance, a chart can succinctly convey data trends that might take several bullet points to explain.
- Keep your slides uncluttered and focused on key points.
- Use high-contrast colors for text and backgrounds to enhance readability.
- Choose fonts that are easy to read from a distance.
- Limit the amount of text per slide to maintain audience engagement.
- Incorporate visuals like images and icons to support your message.
- Maintain consistency in design elements across all slides for a professional look.
- Use animations and transitions sparingly to avoid distractions.
Frequently Asked Questions
1. What are design elements in Google Slides?
Design elements in Google Slides include things like colors, fonts, shapes, and layouts that help make your presentation look good.
2. How can I change the background of my slides?
You can change the background by clicking on ‘Background’ in the toolbar and choosing a color or image that you like.
3. Is it possible to add custom fonts in Google Slides?
Yes, you can add custom fonts by using Google Fonts or by using any fonts that are already available in Google Slides.
4. How do I adjust the size of text boxes and images?
You can adjust the size by clicking on the text box or image and then dragging the corners or edges to make it bigger or smaller.
5. Can I use my own images in the presentation?
Absolutely! You can upload your own images by clicking on ‘Insert’, then ‘Image’, and choosing the option to upload from your device.
TL;DR Google Slides allows users to customize various design elements for impactful presentations. Key elements include themes, backgrounds, layouts, and templates. To change the theme, access the menu, and choose your desired look. Customize backgrounds by changing colors or adding images. For layouts, apply different arrangements suitable for your content. Utilize the master slide editor for bulk updates and consistency. Import custom themes for uniformity across presentations. Remember to maintain consistency, emphasize key points, limit text, and incorporate visuals for effective design.

