Adobe Illustrator is an essential tool for graphic designers, providing various features to enhance design accuracy. Among these features, creating grids is vital as it helps in aligning objects precisely and maintaining consistency. This guide will help you navigate creating grids through the Rectangular Grid Tool and the Polar Grid Tool. You’ll learn how to access these tools, set dimensions, define dividers, and customize according to your needs. Additionally, tips on turning shapes into guides contribute to better organization of your workspaces. Overall, mastering grid creation can streamline your design process and improve your overall output significantly.
1. Understanding Grid Tools in Illustrator
Illustrator provides two primary tools for creating grids: the Rectangular Grid Tool and the Polar Grid Tool. The Rectangular Grid Tool allows you to create a grid of evenly spaced horizontal and vertical lines, which is perfect for layouts and aligning elements in a structured manner. On the other hand, the Polar Grid Tool creates a circular grid with concentric circles and radial lines, making it ideal for designs that require a circular layout, such as logos or mandalas.
To access these tools, simply click and hold on the Line Segment Tool in the toolbar. If you can’t find them, you can enable them by going to Window > Toolbars > Advanced. Familiarizing yourself with these tools is essential, as they can significantly enhance your design precision and help maintain consistency across your projects.
2. Creating a Rectangular Grid
 Credits: youtube.com
To create a rectangular grid in Adobe Illustrator, start by selecting the Rectangular Grid Tool from the toolbar. Double-click the tool or click on the artboard to access the Grid Options window. Here, you can set the grid dimensions by entering the desired width and height. Choose a reference point from the four corners to determine where the grid will be placed.
Next, define the number of horizontal and vertical dividers you want. This will determine how many lines will be created in each direction. For example, entering ‘5’ in the Horizontal Dividers field will give you five evenly spaced horizontal lines. You can also adjust the skew of the grid lines if needed, which can create interesting effects.
If you want to fill the grid with a color, check the Fill Grid box. Once you are satisfied with your settings, click OK to create the grid.
For a quick adjustment, while dragging to create the grid, use the up and down arrow keys to add or remove horizontal lines and the left and right arrow keys for vertical lines. This feature allows for easy modification without revisiting the options window.
| Grid Type | Tool Used | Description | Customization Options |
|---|---|---|---|
| Rectangular Grid | Rectangular Grid Tool | Creates a grid of evenly spaced horizontal and vertical lines | Width, Height, Horizontal Dividers, Vertical Dividers, Skew |
| Polar Grid | Polar Grid Tool | Creates a circular grid made of concentric circles and radial lines | Width, Height, Concentric Dividers, Radial Dividers, Skew |
3. Creating a Polar Grid
 Credits: youtube.com
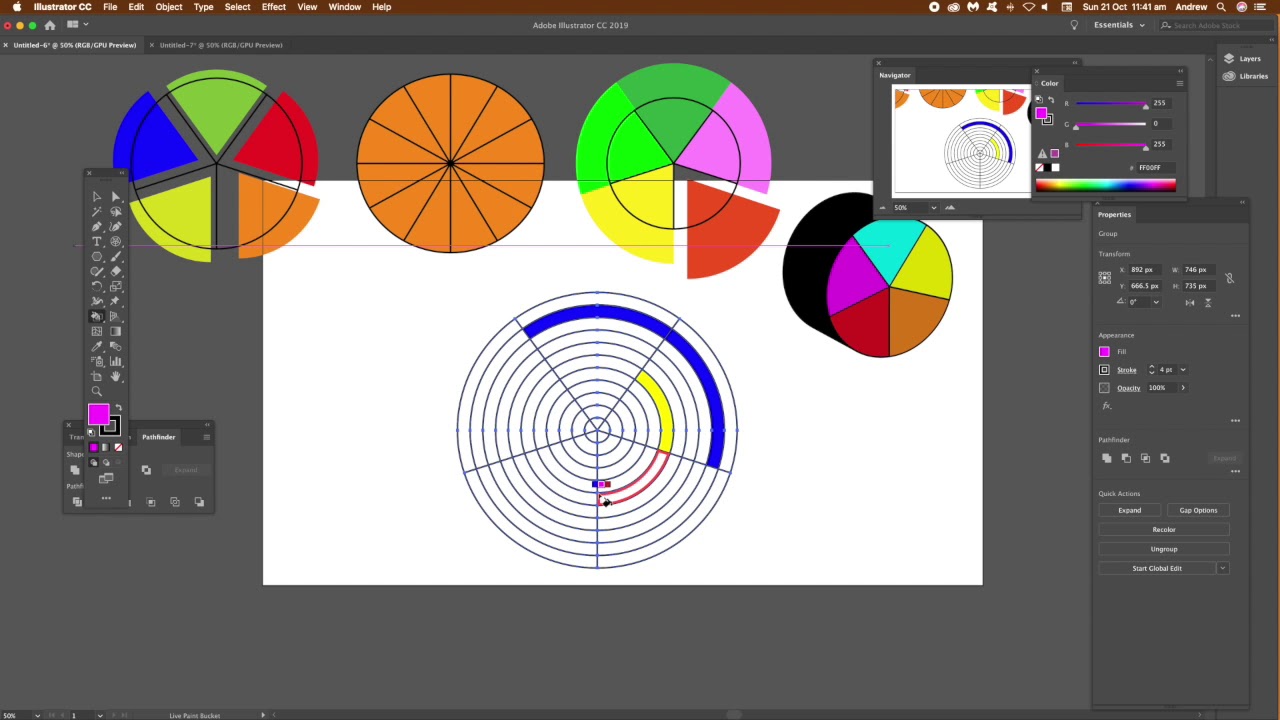
To create a polar grid in Adobe Illustrator, start by selecting the Polar Grid Tool from the Line Segment Tool dropdown. Once selected, double-click on the tool or click on the artboard to access the Polar Grid Tool Options window. Here, you can set the grid size by entering the desired Width and Height. Next, define the number of Concentric Dividers for the circles and Radial Dividers for the lines radiating from the center. You can also use the Skew sliders to adjust the angles of the circles and lines if needed. If you prefer a filled grid, check the Fill Grid box to apply the current fill color. Finally, click OK or hit Enter to create your polar grid.
For example, if you’re designing a logo and need a circular layout, setting 5 concentric circles and 12 radial lines can help you visualize the design better. You can also adjust the number of dividers while dragging the tool by using the arrow keys, making it easy to customize the grid on the fly.
| Grid Type | Tool Used | Description | Customization Options |
|---|---|---|---|
| Rectangular Grid | Rectangular Grid Tool | Creates a grid of evenly spaced horizontal and vertical lines | Width, Height, Horizontal Dividers, Vertical Dividers, Skew |
| Polar Grid | Polar Grid Tool | Creates a circular grid made of concentric circles and radial lines | Width, Height, Concentric Dividers, Radial Dividers, Skew |
4. Using Guides in Illustrator
 Credits: lauracoylecreative.com
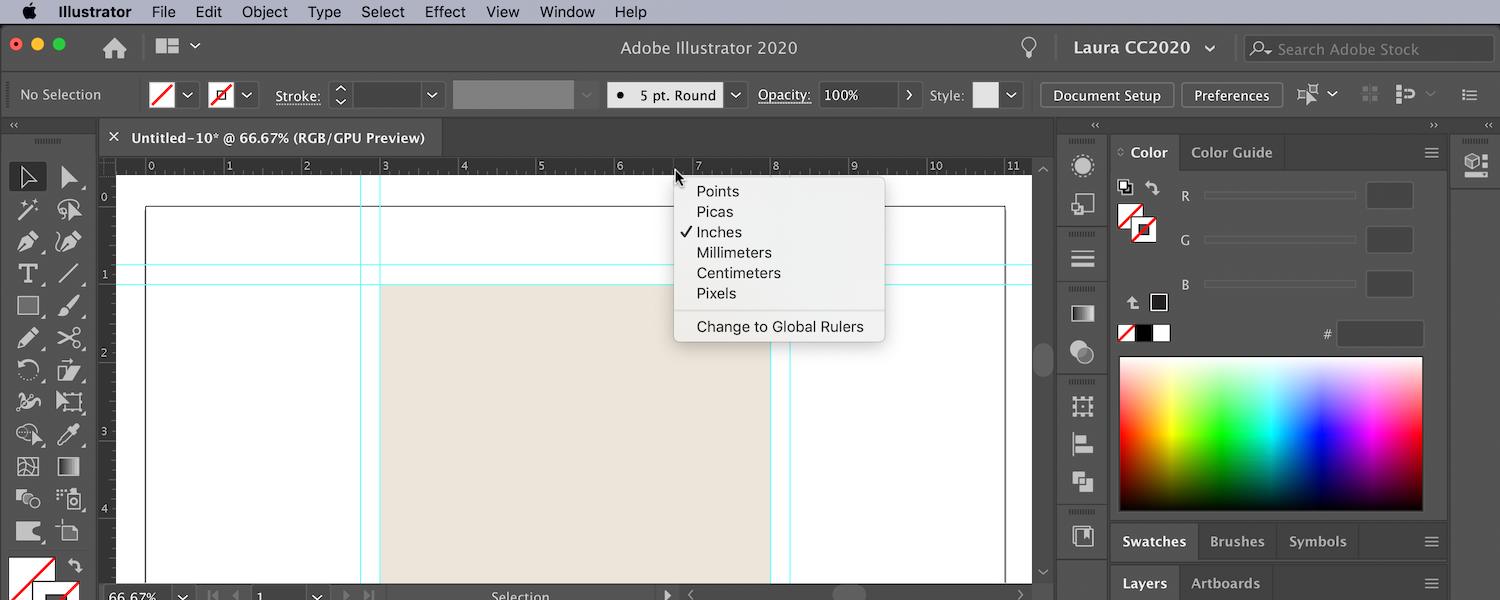
Guides are essential for aligning objects in your design. You can create guides from any object, including grid lines. To make guides, select the shapes you want to convert into guides and go to View > Guides > Make Guides or use the shortcut Cmd/Ctrl + 5. This action will change your selected objects into guides that you can use for alignment without affecting the final output of your design.
You can easily toggle the visibility of guides by pressing Cmd/Ctrl + ;. This is particularly useful if you want to focus on your design without the distraction of visible guides.
For custom angles, you can create guides by drawing a shape, such as a rectangle. Once the shape is selected, go to Object > Path > Split Into Grid to define your grid. After that, you can rotate the guides using the Rotate Tool to fit your design needs. This flexibility allows you to create unique layouts and compositions.
5. Tips for Effective Grid Management
To manage grids effectively in Illustrator, start by using the *Snap to Grid feature. This ensures that objects align perfectly with your grid lines. You can enable it by going to View > Snap to Grid or by using the shortcut Shift + Cmd/Ctrl + ‘ ‘*.
Another tip is to adjust the grid spacing to match your design needs. If you find the default spacing too tight or too loose, go to Preferences > Guides & Grid to customize the grid settings, including the gridline every option and subdivisions.
Utilizing Smart Guides can also enhance your grid management. Activate them by going to View > Smart Guides. These guides help by showing alignment cues when you move objects close to grid lines or other objects.
For complex designs, consider using multiple grids. You can create various grid layouts for different sections of your project and manage them using layers. This way, you can keep your main grid visible while working on specific design elements without losing track of alignment.
Finally, always remember to lock your guides after setting them up. This prevents accidental movement. To lock guides, select them and go to View > Guides > Lock Guides. You can unlock them later if needed.
- Always start with a clear intention for your grid layout.
- Utilize shortcuts to quickly toggle grid visibility.
- Experiment with grid settings to see what works best for your project.
- Regularly align elements to the grid for a cleaner design.
- Use contrasting colors for grid lines to enhance visibility.
- Save custom grid presets for future use.
6. Customizing Your Grid Settings
Customizing your grid settings in Adobe Illustrator allows you to tailor the grid to better suit your design needs. You can adjust various parameters to enhance precision and functionality.
When you create a grid, you have the option to define its dimensions and the number of dividers, but you can also customize the appearance. For instance, you can change the color of the grid lines to make them more visible against your design, which can be particularly useful when working with complex illustrations. To change the grid color, go to Edit > Preferences > Guides & Grid and select a color that fits your project.
Additionally, you can modify the grid spacing. In the grid options, you can specify the spacing between horizontal and vertical lines, allowing you to create grids that align perfectly with specific measurements or design elements. This is especially helpful when you need to adhere to strict layout guidelines, such as for print design.
Another useful feature is the ability to adjust the grid’s opacity, making it easier to see the grid lines without overpowering your design. This can be done in the same preferences menu.
Lastly, consider saving your customized grid settings as a new preset. This way, you can quickly apply your preferred grid configurations to future projects without needing to adjust the settings each time. This can streamline your workflow and maintain consistency across various designs.
Frequently Asked Questions
1. How do I create a grid in Illustrator?
To create a grid in Illustrator, go to the ‘View’ menu, select ‘Show Grid’. You can also customize your grid settings in ‘Preferences’ under ‘Guides & Grid’.
2. Can I change the size of the grid in Illustrator?
Yes, you can change the grid size by going to ‘Preferences’, then ‘Guides & Grid’. Here, you can adjust the gridline every ‘X’ amount of units to fit your needs.
3. Is it possible to snap objects to the grid in Illustrator?
Absolutely! To snap objects to the grid, go to the ‘View’ menu and make sure ‘Snap to Grid’ is checked. This will help align your designs perfectly.
4. Can I color my grid lines in Illustrator?
No, Illustrator does not allow you to change the color of the grid lines themselves. However, you can create a custom grid using shape tools and color them as you like.
5. What is the difference between a grid and guides in Illustrator?
A grid is a series of evenly spaced lines that help you align objects, while guides are non-printing lines that you can place anywhere on your artboard to assist in layout.
TL;DR This comprehensive guide explains how to create grids in Adobe Illustrator using the Rectangular and Polar Grid Tools. It covers step-by-step instructions for both grid types, provides tips for using guides effectively, and offers insights into customizing grid settings. By mastering these tools, designers can enhance alignment and achieve precision in their projects.

