Creating your own hat can be an enjoyable activity tailored to showcase your personal style. To start, pick a hat style that fits your vibe; options include baseball caps, beanies, or trendy bucket hats. Next, select suitable materials—cotton for breathability or wool for warmth. After that, it’s time to unleash your creativity! Personalize the hat with custom logos using embroidery or patches—there are many ways to make it yours. Choosing colors is equally important; try using brand colors or trendy palettes that resonate with people around you. Lastly, finalize the design and place your order with a reputable manufacturer for the best results!
1. Choose the Right Hat Style
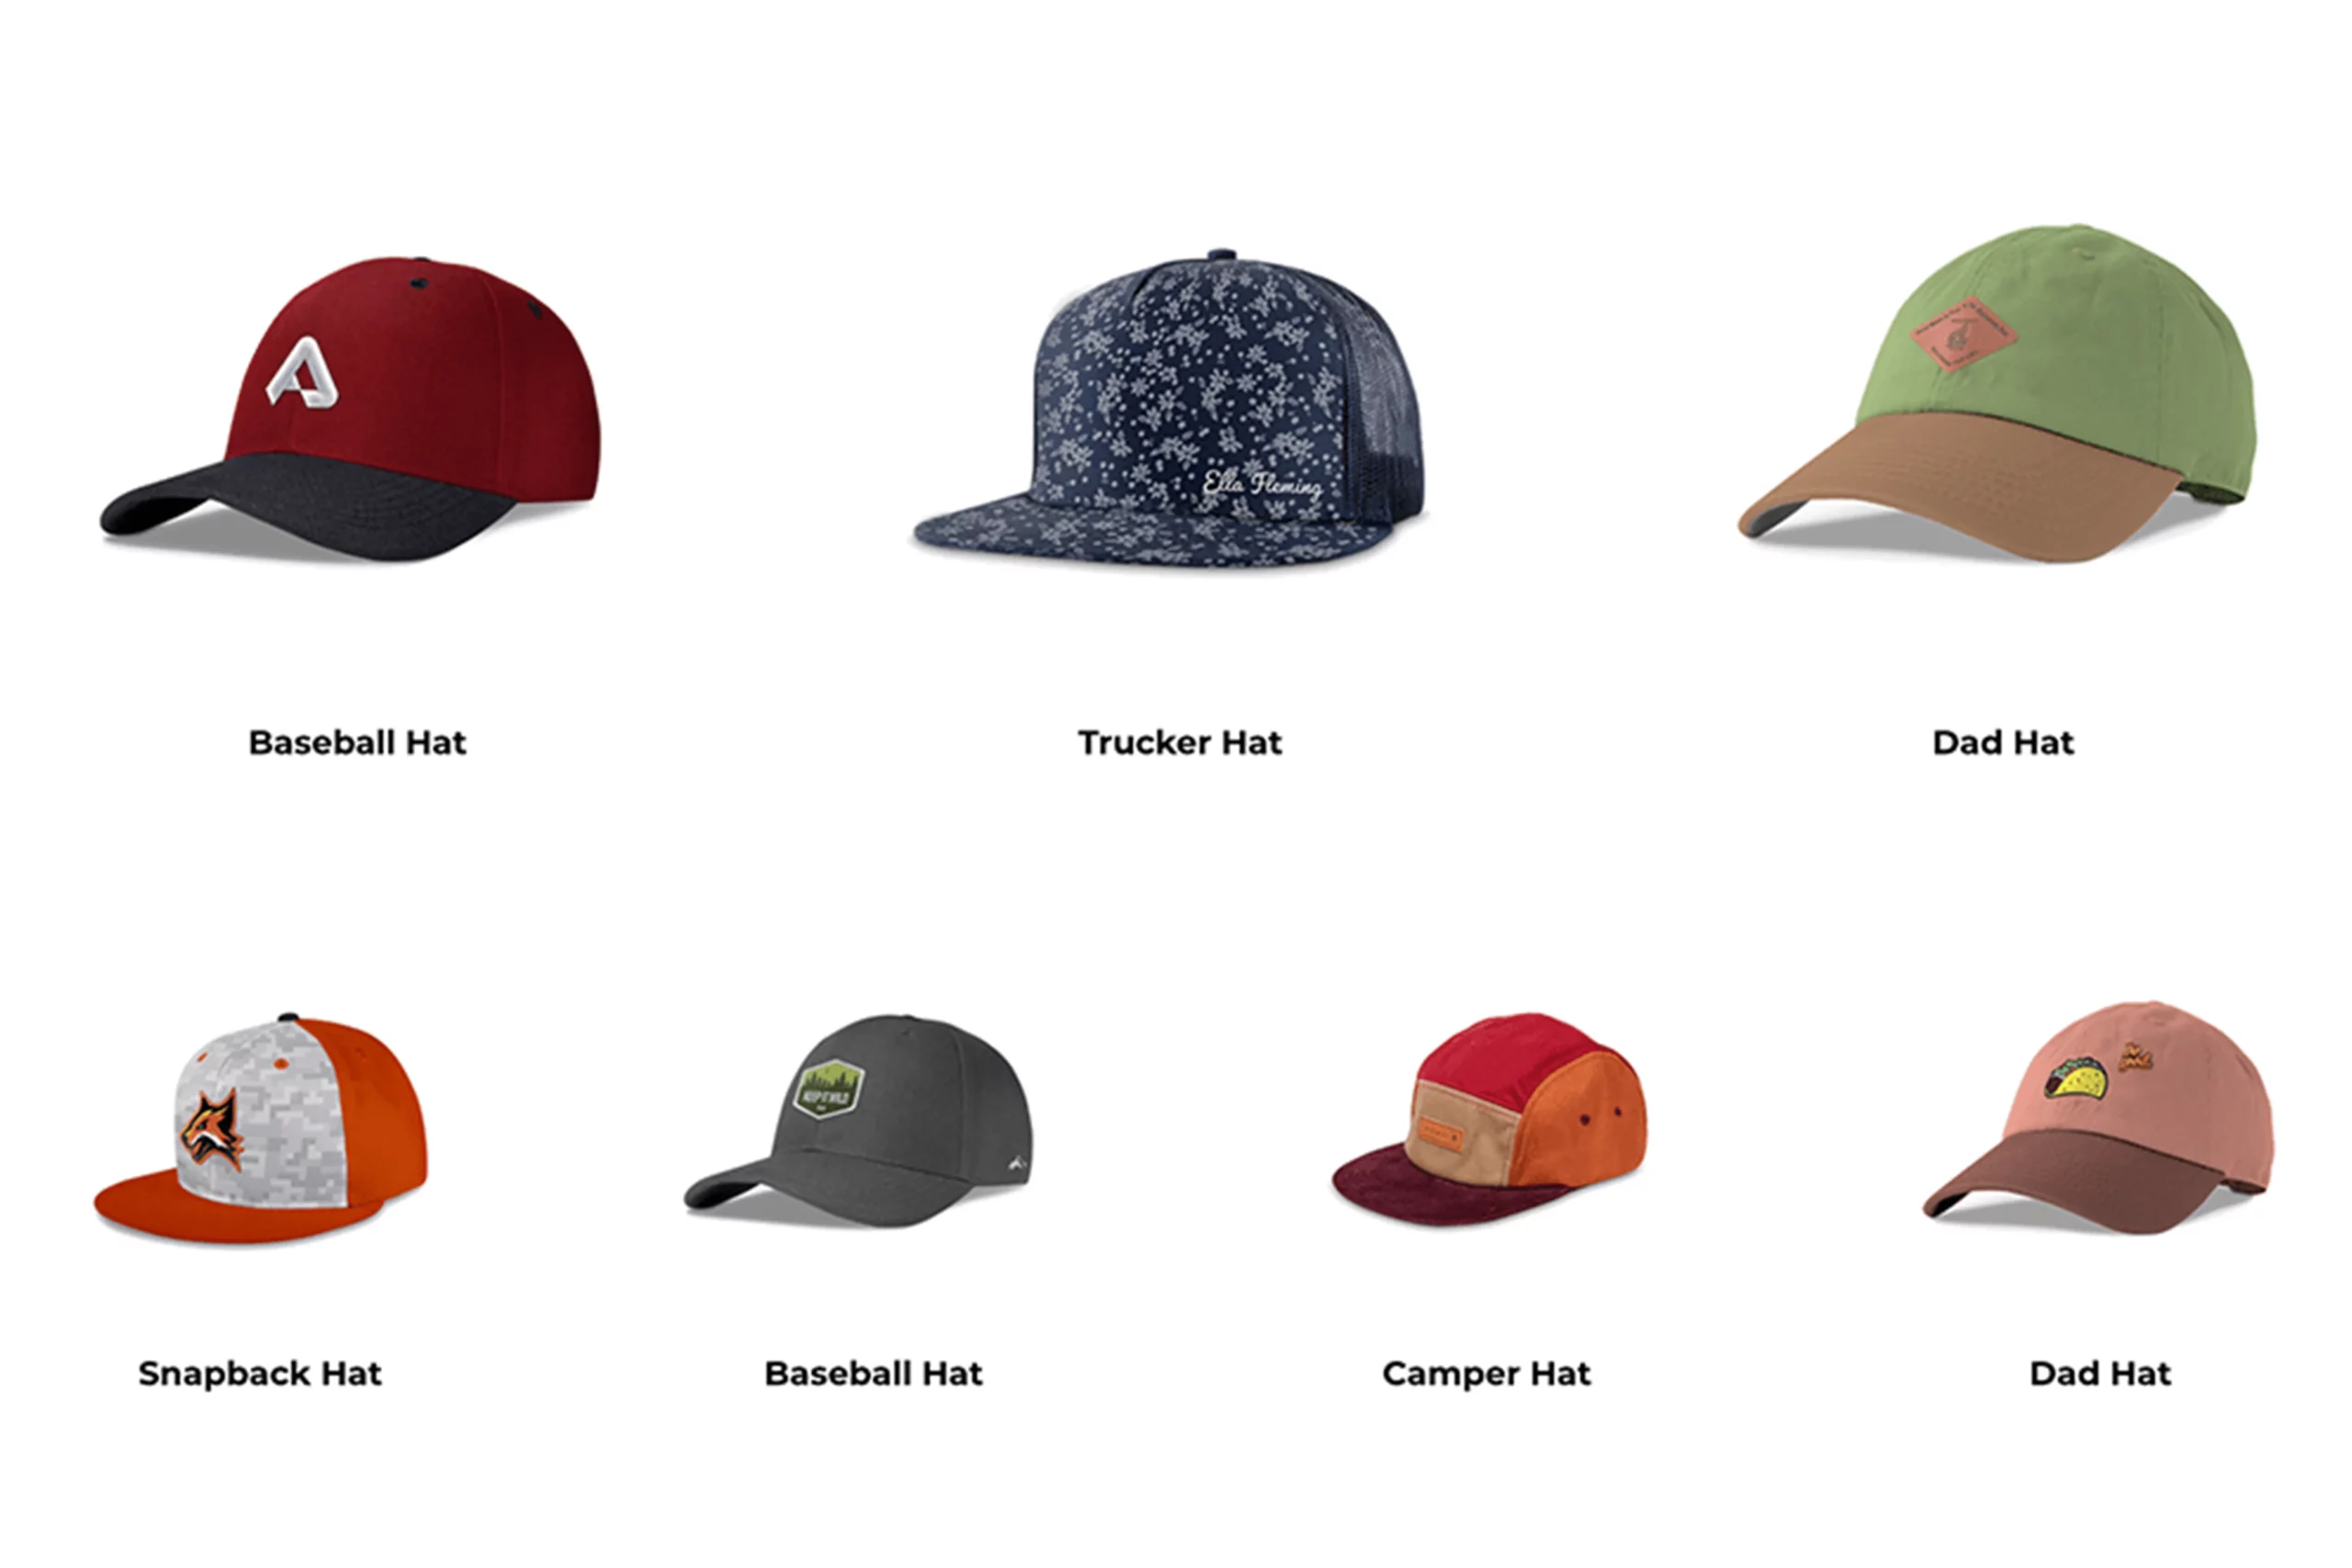 Credits: thestudio.com
The first step in your hat-making journey is to choose the style of hat you want to create. There are various styles to consider, including a baseball cap, which is a classic choice that fits most occasions. Snapbacks are known for their flat brims and adjustable fits, making them popular among young adults. Trucker hats are lightweight with a breathable mesh back, perfect for summer days. If you’re looking for something trendy and casual, a bucket hat might be the right choice, especially for outdoor activities. Lastly, if you want something for colder weather, a beanie can be a cozy option that comes in various colors and styles. Each style has its own appeal and purpose, so think about when and where you plan to wear your hat.
| Hat Style | Description |
|---|---|
| Baseball Cap | A classic choice that fits most occasions. |
| Snapback | Known for its flat brim and adjustable fit, popular among young adults. |
| Trucker Hat | Lightweight with a breathable mesh back, perfect for summer. |
| Bucket Hat | A trendy and casual option, great for outdoor activities. |
| Beanie | Ideal for colder weather and can be made in various colors and styles. |
2. Select Your Material
 Credits: jingsourcing.com
Selecting the right material for your hat is crucial as it affects not just the look but also the feel and functionality of the final product. Common choices include cotton, which is soft and breathable, making it suitable for everyday wear. Polyester is another popular option; it’s lightweight and durable, often used for sports hats because it withstands wear and tear. Wool is excellent for colder hats, providing warmth and a classic appearance. For trucker hats, mesh is typically used for its ventilation properties, keeping your head cool in hot weather. Felt can be used for structured hats, giving them a more formal and stylish shape. Think about your intended use and the climate when selecting your material to ensure maximum comfort and effectiveness.
3. Personalize with Your Custom Logo or Design
 Credits: amazon.com
Adding a personal touch to your hat is where the fun begins! Consider how you want to express your identity or brand through your design. One popular method is embroidery, which provides a premium look and is durable, making it suitable for most hat types. For example, a simple embroidered logo can elevate a basic baseball cap into a statement piece.
Screen printing is another effective method, especially for larger orders. It allows for bold designs and vibrant colors, perfect for promotional hats. If your design is more intricate or multi-colored, heat transfer can be an ideal choice, as it captures fine details well.
Patches are also a trendy option; you can sew or iron them onto your hat for a unique look. This method gives you the flexibility to change designs easily, making it a favorite among those who like to switch up their style. Think about what best represents you or your brand, and choose a method that aligns with your vision.
4. Choose the Colors
Selecting the right colors is crucial to making your hat stand out. Think about the design and the message you want to convey. You can use your brand colors if you’re creating hats for promotional purposes. For example, if your brand is associated with nature, greens and browns might be fitting. Consider using complementary colors to enhance your logo or design; a bright logo on a dark hat can create a striking contrast. Additionally, keep an eye on trendy color combinations that appeal to your target audience. Popular color trends often change with seasons, so researching current styles can help you choose colors that will resonate well.
5. Finalize Your Design and Place Your Order
After you’ve made all your choices regarding style, material, design, and colors, it’s time to finalize everything. Most manufacturers will provide a digital mockup of your hat, allowing you to see how it will look before production starts. This is your chance to catch any mistakes or make last-minute changes, so pay close attention to the details like placement of your logo and color accuracy.
Once you’re satisfied with the mockup, you can place your order. Make sure to choose a reputable manufacturer who is known for quality and timely delivery. Check reviews or ask for recommendations to ensure you’re making a good choice. Also, consider asking about their minimum order quantities, production timeline, and shipping options to avoid any surprises later on.
6. Additional Tips for Successful Hat Making
When making your own hat, attention to detail can elevate your design. If you’re new to sewing, start with a simple pattern. This will help you understand the structure of a hat without overwhelming you. You might want to practice on scrap fabric before cutting your final material.
Consider the fit of your hat. Measure your head properly to ensure comfort. A snug fit is essential, especially for styles like beanies or snapbacks. You can also add adjustable features like a strap or velcro for a more versatile fit.
If you’re using a sewing machine, select the right needle and thread. A ballpoint needle works well for knits, while a sharp needle is better for woven fabrics. Using the right tools can prevent fabric snags and ensure a clean finish.
Don’t forget about the finishing touches. Adding a sweatband inside can increase comfort and absorb moisture. Labels or tags with your brand or name can also add a professional touch to your custom hat.
Lastly, be patient and have fun throughout the process. Each mistake is a learning opportunity, and with practice, your hat-making skills will improve.
- Research different hat styles to find inspiration.
- Consider your target audience when selecting designs.
- Use high-quality materials for better durability.
- Experiment with different textures and patterns.
- Ensure your logo or design is scalable for different hat sizes.
- Test your design on a sample hat before final production.
- Get feedback from friends or potential customers on your prototypes.
Frequently Asked Questions
1. What materials do I need to make a hat?
To create your own hat, you’ll typically need fabric, a hat pattern, scissors, a sewing machine or needle and thread, and any decorative elements like buttons or ribbons.
2. Can I make a hat even if I don’t know how to sew?
Yes! There are many no-sew methods available, such as using fabric glue or tying materials together, which can help you create a hat without sewing.
3. What types of hats can I make using these steps?
You can make various types of hats, including baseball caps, beanies, sun hats, or even fedoras, depending on the pattern and techniques you choose.
4. How long does it take to create a hat from start to finish?
The time it takes to make a hat can vary, but on average, it may take anywhere from a couple of hours to a day, depending on the complexity of the design and your skill level.
5. Do I need special tools to make a hat?
While you don’t need many special tools, having a sewing machine, fabric scissors, a ruler, and pins can make the process easier and help you achieve better results.
TL;DR Creating your own hat is an enjoyable way to showcase your style or promote your brand. Follow these five steps: 1) Choose a hat style (e.g., baseball cap, snapback); 2) Select materials (like cotton or polyester); 3) Personalize with a logo (using methods like embroidery or patches); 4) Pick the right colors; 5) Finalize your design and order. Additional tips include testing your pattern and familiarizing yourself with sewing techniques for a successful hat-making experience.