Adobe Illustrator is an essential tool for designers looking to create impressive vector artwork. A common challenge they face is filling colors in the spaces between lines or paths, which can be tricky. This guide will show you how to use the Live Paint Bucket Tool, a powerful feature for this purpose. First, select the paths you wish to color and convert them into a compound path using Object > Compound Path > Make. Then activate the Live Paint Bucket Tool and click on your selected area to create a live paint group. Finally, choose your fill color and click on the empty spaces to add vibrant hues easily!
Understanding the Challenge of Filling Colors
When working in Adobe Illustrator, filling colors between lines can present a unique challenge. You might create intricate designs using the Pen or Pencil tools, resulting in paths that create empty spaces rather than closed shapes. These empty areas often seem like they should be easy to fill, but because they lack a defined boundary, they can be tricky to work with.
For instance, if you draw a flower with overlapping petals, the spaces around them may not be recognized as shapes. Without a clear enclosure, Illustrator won’t fill these areas automatically. This is where understanding the tools available becomes crucial. Knowing how to manipulate paths and utilize tools like the Live Paint Bucket can make all the difference in achieving the desired look in your artwork.
Using the Live Paint Bucket Tool
 Credits: youtube.com
The Live Paint Bucket Tool is a powerful feature in Adobe Illustrator that makes it easy to fill colors between paths. To begin, select the paths you want to fill. Once selected, convert these paths into a compound path by navigating to Object > Compound Path > Make or using the keyboard shortcuts Control + 8 on Windows or Command + 8 on Mac.
After creating a compound path, activate the Live Paint Bucket Tool by selecting it from the toolbox or pressing the K key. With the compound path still selected, click on it to create a live paint group. This will allow you to fill the empty spaces between your paths.
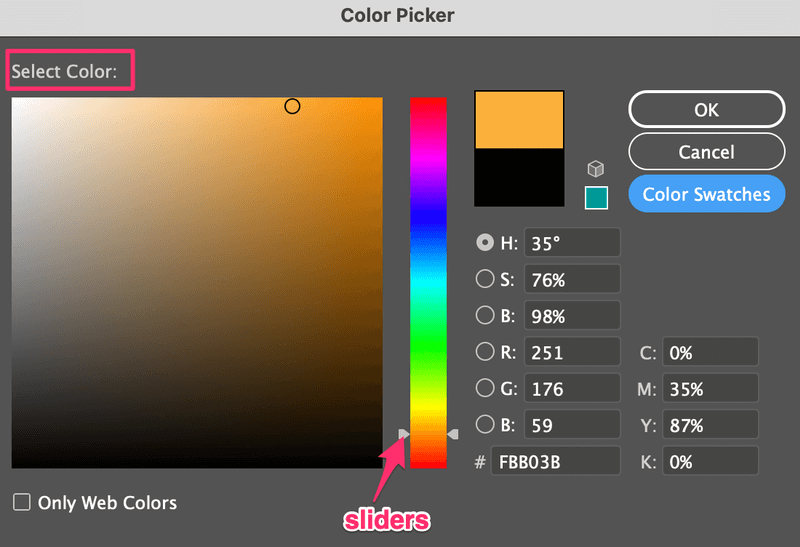
Next, choose a fill color from the Color menu. As you hover over the empty areas, they will highlight, indicating they are ready to be filled. You can click on these spaces individually or click and drag to fill multiple areas at once.
Once you’re satisfied with your color choices, you can finalize your design. If you want to turn the filled spaces into separate objects, go to Object > Expand, then ungroup them with Object > Ungroup. This gives you the flexibility to adjust the filled shapes as needed.
Step-by-Step Guide to Live Paint Bucket
 Credits: youtube.com
To use the Live Paint Bucket Tool effectively, follow these steps. First, select the paths you want to fill with color by clicking and dragging your mouse over them. Next, convert these selected paths into a compound path by going to Object > Compound Path > Make or using the shortcut Control + 8 on Windows or Command + 8 on Mac. Then, select the Live Paint Bucket Tool from the toolbox or press the K key. With your compound path selected, hover over it until the cursor changes, then click to create a live paint group. Now, choose a fill color from the Color menu and hover over the empty spaces between the paths. Those empty areas will highlight, and you can click to fill them with your selected color. If you want to fill multiple spaces at once, simply click and drag. To finalize your design, go to Object > Expand to convert the filled areas into separate shapes, and then ungroup them by selecting Object > Ungroup. This allows you to manipulate each filled shape independently.
Alternative Methods for Filling Colors
 Credits: illustratorhow.com
While the Live Paint Bucket Tool is efficient for filling colors, you may also consider the following methods:
-
*Shape Builder Tool*: This tool allows you to create new shapes from the overlapping areas of paths. To use it, select the shapes, then click and drag across the areas you want to keep. While it doesn’t fill colors automatically, it’s useful for creating distinct shapes that can later be filled separately. For example, if you have a star and a circle intersecting, you can use the Shape Builder Tool to create a new shape from their intersection, then fill it with color.
-
Using the Pathfinder Panel: If your design consists of overlapping shapes, the Pathfinder panel can be very helpful. You can unite shapes to create a single shape or subtract one shape from another. For instance, if you have a rectangle and a circle overlapping, using the ‘Unite’ option will create a single shape that you can fill with color. This method is particularly useful for creating complex designs where lines overlap significantly.
| Method | Description | Pros | Cons |
|---|---|---|---|
| Live Paint Bucket Tool | Allows filling of colors in empty spaces between paths easily. | User-friendly, efficient for complex shapes. | Can be confusing for beginners. |
| Shape Builder Tool | Creates new shapes from intersecting areas of paths. | Useful for creating new paths. | Does not apply fill color automatically, less efficient for this task. |
| Pathfinder Panel | Unites or subtracts overlapping shapes to create fills. | Good for specific shapes and layouts. | Can be less intuitive for complex designs. |
Tips for Efficient Color Filling
To make your color filling process smoother in Adobe Illustrator, here are some useful tips. First, ensure your paths are closed. Open paths can lead to unexpected results when using the Live Paint Bucket Tool. To quickly check if your paths are closed, use the Direct Selection Tool to click on the endpoints. Second, utilize the Layers panel to organize your paths. Grouping related paths can help you manage your design effectively and prevent accidental selections. Third, consider using swatches for consistent colors throughout your project. Create a color palette and save it in the Swatches panel to access it easily. This can save time and ensure color harmony in your design. Lastly, practice using keyboard shortcuts for tools you use frequently. For example, pressing ‘K’ for the Live Paint Bucket Tool or ‘Shift + D’ to toggle between the selection and direct selection tools can speed up your workflow.
- Use a consistent color palette for a cohesive look.
- Familiarize yourself with keyboard shortcuts for efficiency.
- Take advantage of the Color Guide feature in Illustrator.
- Experiment with opacity levels to create depth.
- Utilize layers to separate different color areas easily.
- Save your color swatches for reuse in future projects.
- Consider the emotional impact of colors in your design.
Frequently Asked Questions
1. How can I fill colors between lines in Adobe Illustrator?
To fill colors between lines, first select the area you want to color using the ‘Selection Tool’. Then, choose the ‘Live Paint Bucket Tool’ from the toolbar, click on the area between the lines, and pick a color to fill it.
2. What is the ‘Live Paint Tool’ and how does it work?
The ‘Live Paint Tool’ allows you to fill areas between edges easily. It turns your paths into a Live Paint group, letting you color in any sections without needing them to be closed shapes.
3. Are there specific line styles I need for adding colors?
No specific line styles are required, but using closed paths helps. If your lines create enclosed areas, it becomes easier to fill those sections with color.
4. Can I use gradients between lines instead of solid colors?
Yes, you can use gradients! After selecting the area with the ‘Live Paint Bucket Tool’, choose the ‘Gradient Tool’ from the toolbar to apply a gradient instead of a solid color.
5. What should I do if my colors are not filling correctly?
If colors aren’t filling, make sure your artwork is a Live Paint group. You can create one by selecting your paths, right-clicking, and choosing ‘Live Paint’ > ‘Make’.
TL;DR This blog post explores how to fill colors between lines in Adobe Illustrator, primarily using the Live Paint Bucket Tool. It provides a step-by-step guide, including selecting paths, creating a compound path, and filling empty spaces with color. Alternative methods, such as the Shape Builder Tool and Pathfinder panel, are also mentioned. Overall, mastering these techniques can enhance your graphic design skills.

