Creating smooth lines in Adobe Illustrator is crucial for graphic designers and illustrators aiming for a polished look. Knowing the tools available, like the Pen Tool for precision and the Smooth Tool for refinement, can make a significant difference. The Smooth Tool allows you to easily refine your paths by clicking and dragging over them multiple times. Additionally, simplifying paths through the Object menu helps to reduce anchor points that might cause jaggedness. Adjusting Paintbrush settings also contributes greatly to achieving even lines. Don’t forget that practice is key; start simple before moving onto complex designs, ensuring smooth results every time!
1. Understanding the Tools for Smooth Lines
To create smooth lines in Adobe Illustrator, it’s essential to familiarize yourself with the various tools at your disposal. The Pen Tool is your go-to for precise paths and curves, allowing you to create sharp and clean lines. For those who prefer a more freehand approach, the Paintbrush Tool is perfect, though you might need to refine your strokes afterward for optimal smoothness. The Curvature Tool offers an intuitive way to draw curves, making it easier to produce fluid lines with less effort. Lastly, the Smooth Tool is specifically designed to refine and smooth out your paths, making it a crucial asset in your toolkit. Understanding how to use each of these tools effectively will set the foundation for creating beautiful, smooth lines in your designs.
| Tool | Description |
|---|---|
| Pen Tool | Ideal for creating precise paths and curves. |
| Paintbrush Tool | Great for freehand drawing, but may need adjustments for smoothness. |
| Curvature Tool | Provides a more intuitive way to create curves and lines. |
| Smooth Tool | Specifically designed to smooth out any drawn paths. |
2. Using the Smooth Tool Effectively
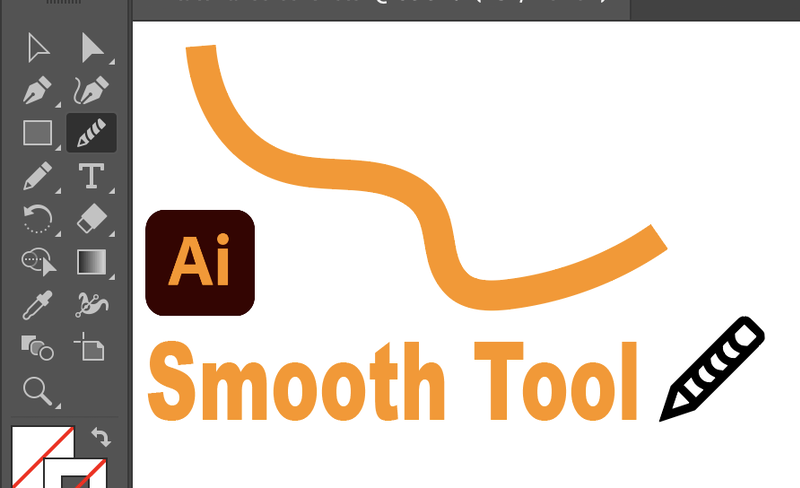
 Credits: illustratorhow.com
The Smooth Tool is a powerful feature in Illustrator that allows you to refine your lines easily. To start, draw a path using the Pen, Paintbrush, or Curvature tool. Once your line is created, select it with the Selection Tool. Next, activate the Smooth Tool by finding it in the toolbar; you may need to hold down the Shaper Tool icon to access it. With the Smooth Tool selected, click and drag over your line multiple times to smooth it out. If you want to control how much smoothing occurs, you can double-click the Smooth Tool icon to adjust the Fidelity setting. A lower fidelity will maintain more of your original path, while a higher fidelity will create a smoother result, but may also change the shape of your line.
3. Simplifying Paths for Better Lines
Simplifying paths in Adobe Illustrator is a smart way to enhance your line quality. It reduces the number of anchor points in your paths, which can lead to smoother and cleaner lines. To start, select the line you want to simplify. Then, navigate to the menu and choose Object > Path > Simplify. A dialog box will appear where you can adjust the settings. The slider allows you to control how much you want to simplify the path. Moving it to the left will reduce points more aggressively, while moving it to the right will keep more detail.
For example, if you have a wavy line with too many anchor points, simplifying it can create a smoother appearance, making it easier to work with and visually appealing. This technique is especially beneficial for lines that are overly complex or uneven, allowing you to maintain the essence of your design while improving its overall look.
4. Adjusting Paintbrush Settings for Smoothness
When using the Paintbrush Tool, adjusting the fidelity can make a significant difference in the smoothness of your lines. Start by selecting the Paintbrush Tool and drawing your line. To enhance the smoothness, double-click the Paintbrush Tool icon to open the settings menu. Here, you will find a fidelity slider. Moving this slider towards “Smooth” will help create more even lines by reducing the jaggedness that can occur during freehand drawing. Additionally, consider using the pressure sensitivity settings if you have a tablet; this allows for more natural variations in line thickness. Experimenting with these settings can lead to impressive results in your artwork.
5. Practice Techniques for Beginners
 Credits: tatyanadeniz.com
To develop your skills in creating smooth lines, start with basic shapes. Use the Pen Tool to draw simple shapes like triangles and rectangles. This will help you understand how anchor points work and how to manipulate them effectively. Once you feel comfortable, try connecting these shapes into more complex forms. For example, create a star by combining multiple triangles. This practice will enhance your confidence with the tools. Another beneficial exercise is to trace over existing artwork or images. This can help you get a feel for how smooth lines are formed and how to use the Smooth Tool effectively. Set a timer for short intervals, like 10 minutes, and focus on maintaining steady lines without looking at your hand. This technique helps build muscle memory, making it easier to achieve smooth lines in future projects. Remember, consistency is key. Aim to practice a little every day, gradually increasing the complexity of your designs.
6. Common Mistakes to Avoid in Illustrator
One common mistake is creating too many anchor points when drawing lines. This can lead to jagged or uneven lines. To avoid this, use the Simplify function to reduce the number of points and create a smoother path. Another pitfall is over-smoothing your lines with the Smooth Tool, which can distort your design. Always check the final outcome to ensure it meets your expectations. Additionally, many users ignore the settings of the Paintbrush Tool. The default settings may not work for every project, so customizing them can greatly enhance the quality of your lines. Lastly, neglecting to practice can hinder your progress; regular practice with different tools will help you understand their nuances better.
- Neglecting to use the right brush settings
- Not using the Smooth Tool correctly
- Overcomplicating paths
- Failing to practice basic line techniques
- Ignoring undo options for mistakes
- Skipping over the importance of vector paths
- Forgetting to adjust anchor points
7. Final Tips for Creating Smooth Lines
To master the art of creating smooth lines in Adobe Illustrator, try experimenting with different tools to see which one matches your style best. For instance, while the Pen Tool offers precision, the Paintbrush Tool can provide a more organic feel. Don’t forget to familiarize yourself with keyboard shortcuts; they can significantly speed up your workflow. For example, using ‘P’ for the Pen Tool or ‘B’ for the Brush Tool can save you time when switching between tools. Finally, keep your software updated. Adobe frequently releases new features and improvements that can enhance your drawing experience, so staying informed can benefit your design process.
8. Exploring Other Tools for Line Creation
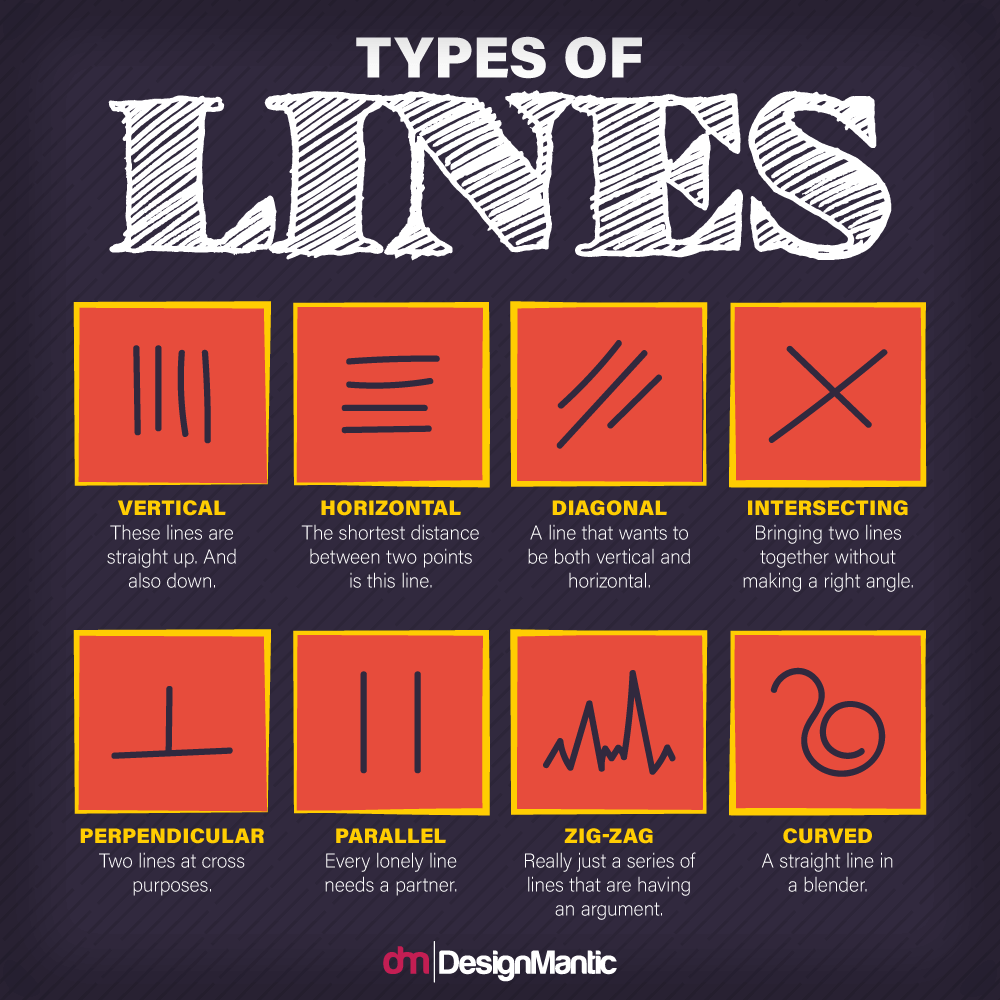
 Credits: designmantic.com
In addition to the primary tools like the Pen, Paintbrush, and Smooth Tool, Adobe Illustrator offers several other tools that can help you create smooth lines. One such tool is the *Blob Brush Tool*. This tool allows you to create filled shapes with a brush-like feel, which can result in smoother, more organic lines. You can adjust the size and shape of the brush to fit your design needs.
Another useful feature is the *Shape Builder Tool*. This tool enables you to combine and manipulate shapes easily, allowing you to create smoother edges between shapes and eliminate any unnecessary lines.
Additionally, the *Pencil Tool* can be handy for drawing freehand lines, and with some practice, you can achieve smoother results. Remember to adjust the tool’s fidelity settings to make your lines more fluid.
The Line Segment Tool is also worth mentioning. It allows you to create straight lines quickly, and you can then modify these lines using the Direct Selection Tool to create curves or angles that fit your design perfectly.
Lastly, consider using effects like the Gaussian Blur for subtle adjustments to lines, giving them a softer appearance without losing their overall shape. By exploring these additional tools, you can add variety and refinement to your line work in Adobe Illustrator.
Frequently Asked Questions
1. What tools can I use in Adobe Illustrator to create smooth lines?
You can use the Pen Tool, Shape Tool, and the Curvature Tool in Adobe Illustrator to create smooth lines.
2. How do I adjust the smoothness of a line I’ve drawn?
You can use the Smooth Tool or the ‘Simplify’ option under the ‘Object’ menu to adjust the smoothness of your line.
3. Can I fix rough edges after creating a line in Adobe Illustrator?
Yes, you can use the Smooth Tool to refine rough edges and make them look smoother.
4. What are some tips for drawing freehand smooth lines in Illustrator?
Try using the brush settings to adjust the pressure and steady your hand for better control while drawing.
5. Is there a way to create perfectly straight lines in Adobe Illustrator?
Yes, you can press and hold the Shift key while drawing with the Pen Tool or Line Tool to create perfectly straight lines.
TL;DR Learn to create smooth lines in Adobe Illustrator with essential tools like the Pen, Paintbrush, and Smooth Tool. Simplify paths to reduce anchor points, adjust paintbrush settings for better fidelity, and practice basic shapes for improvement. Avoid common mistakes such as creating too many anchor points and over-smoothing. Experiment with different tools and stay updated on software features for the best results.

